

The Old Barn / Water Feature ~ Polborder, Cornwall.
Client : Private.

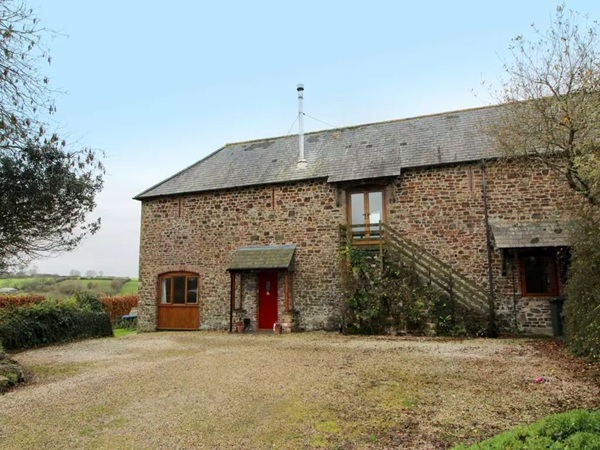
The Old Barn is situated in Polborder within the parish of St. Mellion in Cornwall. Originally a working farm, it was built in the mid 1800’s by the Duchy of Cornwall and served as a blueprint to show how a working farm and its associated buildings should be constructed. It is now a private residential property.
At the rear of this property is an enclosed garden that once formed the courtyard to the original farm and one of the jobs we carried out here involved creating a formal Victorian style garden consisting of a series of raised planters using reclaimed Victorian bricks.
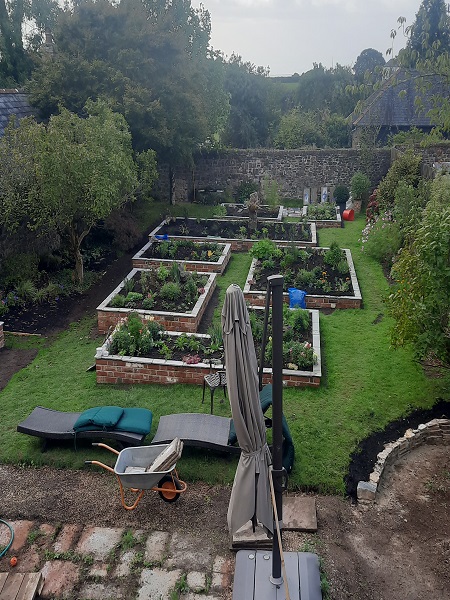
If you are interested in how we built these raised planters you can click here. However, in one area of this garden there was an old slurry pit which once serviced the farm.
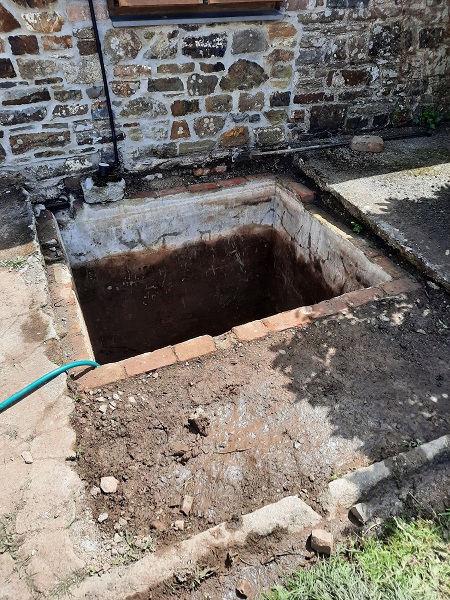
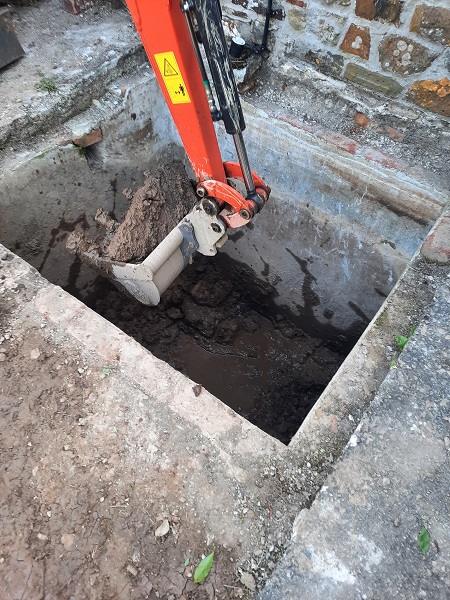
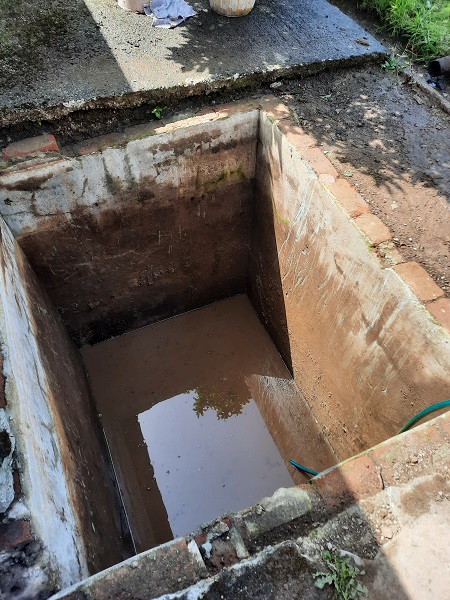
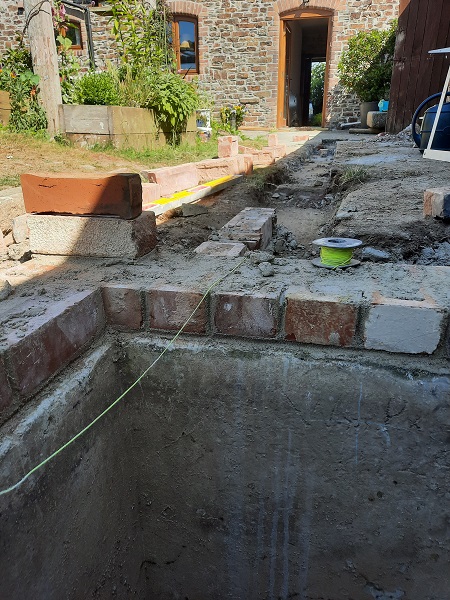
The slurry pit was eight feet deep and full of debris. As there was no cover or railings around it this was a potential hazard so the client wanted to know if it could be made into a pond. We suggested a few ideas and eventually a plan going forward was agreed on. After all the pit was already there, so why not take advantage of it. And that is exactly what we did. Then, with the aid of a mini-digger, we pulled out all the debris from the bottom of it.
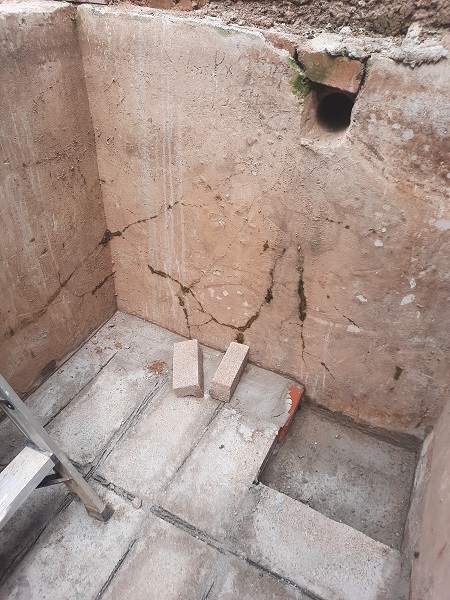
Once all the debris had been removed the first thing we did was raise up the floor level by about three feet using concrete blocks to give a depth of five feet.

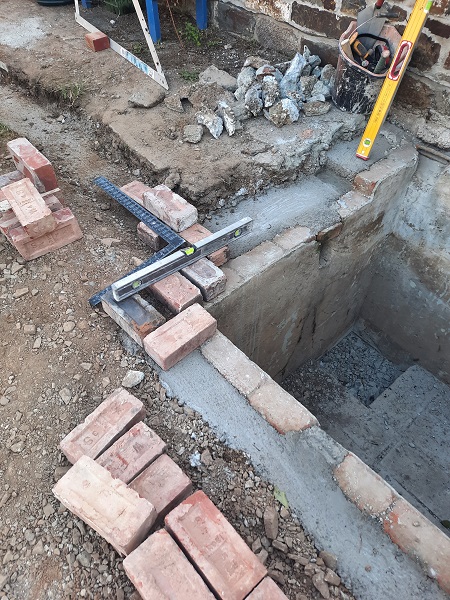
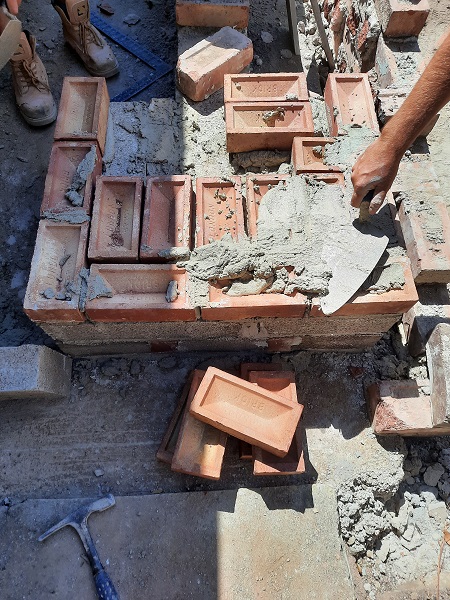
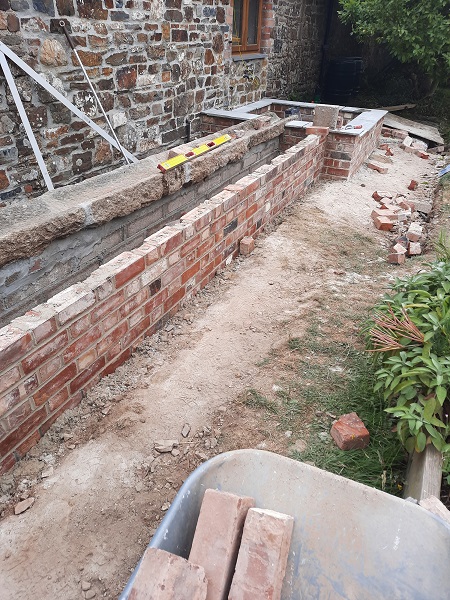
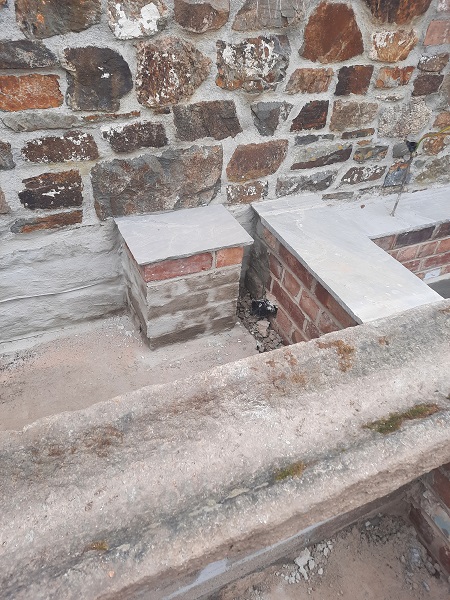
The top of the slurry pit was going to be raised up above the existing ground level using reclaimed Victorian bricks, the same bricks we used to build the raised planters in the garden. A foundation was dug out and concrete laid down for the new brickwork.
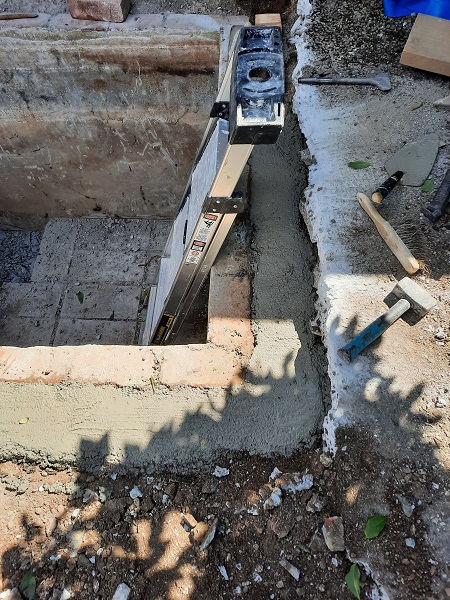
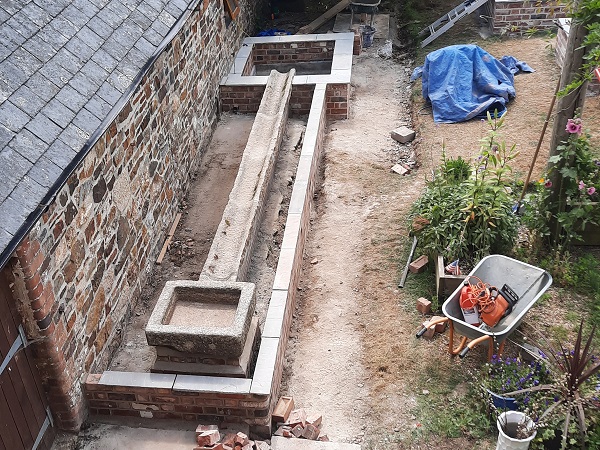
The slurry pit had been built against the wall of what used to be the old piggery. The idea was to build a raised planter that ran parallel to the piggery wall which would join the slurry pit, so we dug another foundation which was for the new brick planter wall.
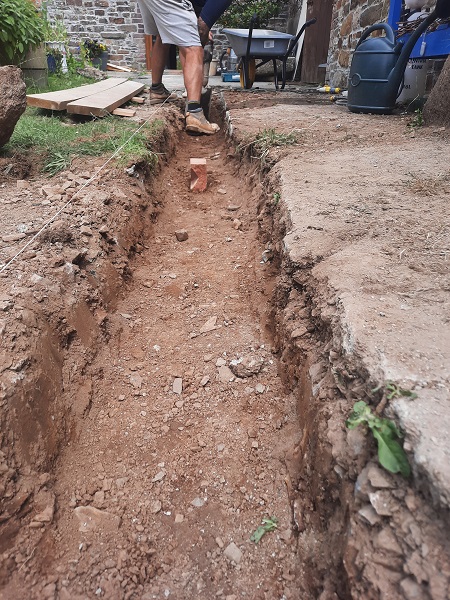
Then a concrete strip foundation was laid.
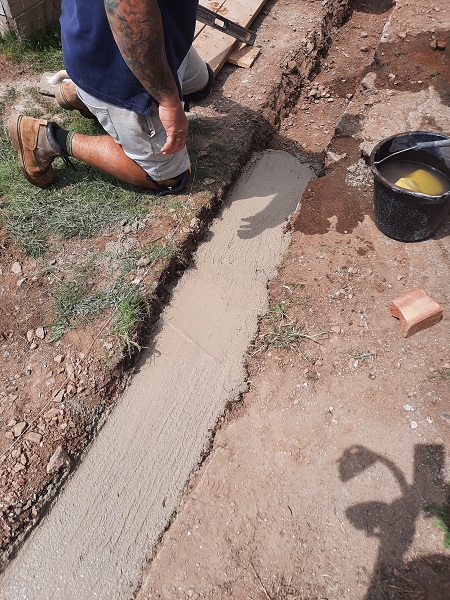
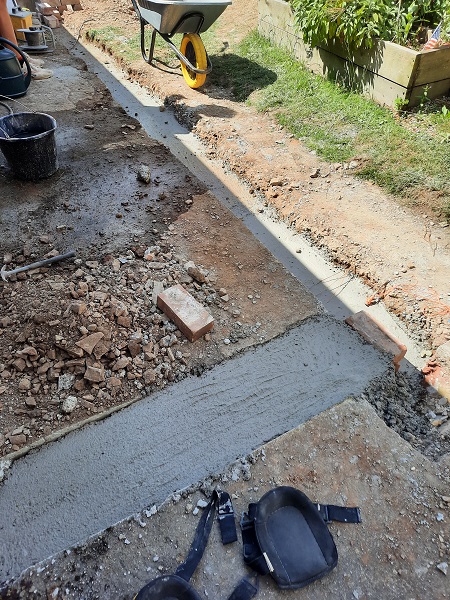
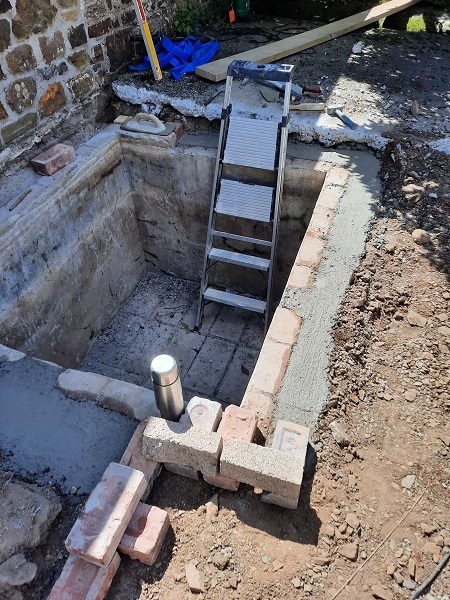
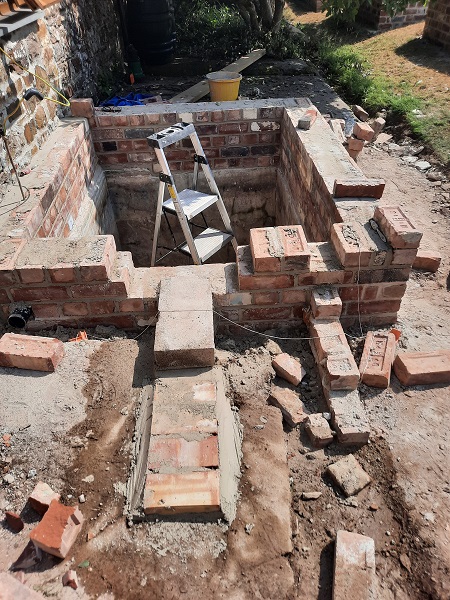
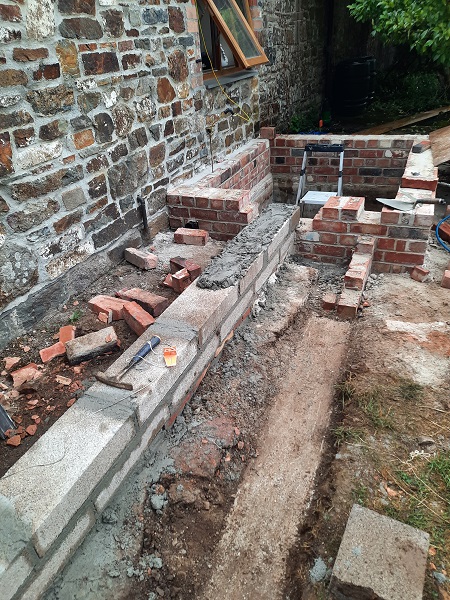
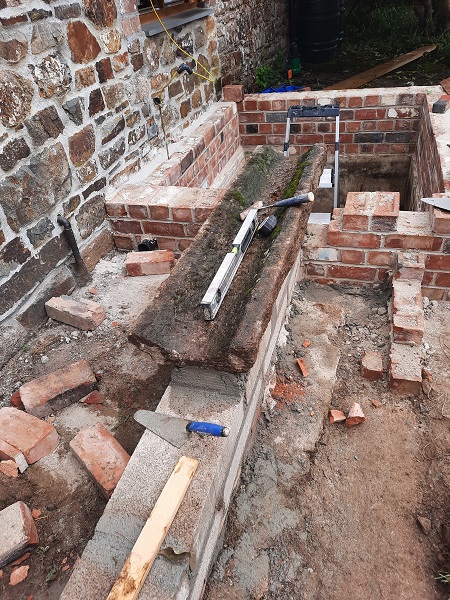
Now all the foundations were placed in it was time to start the brickwork. We first started raising the walls around the old slurry pit.
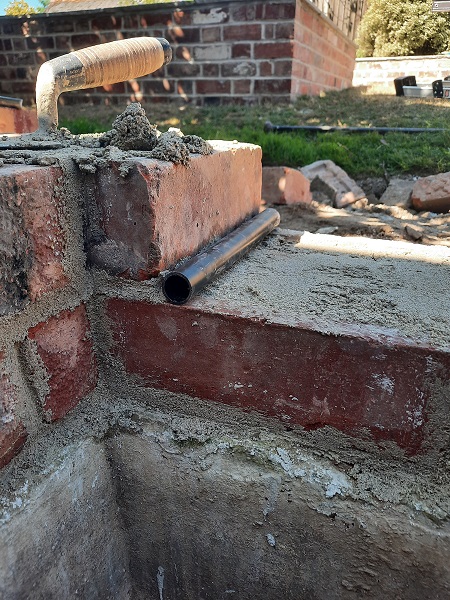
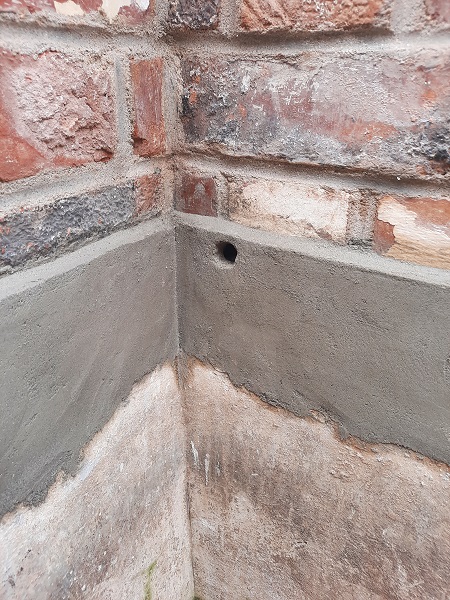
On top of the first course of brick we set in a one inch pipe. This would act as the overflow for the new water feature.
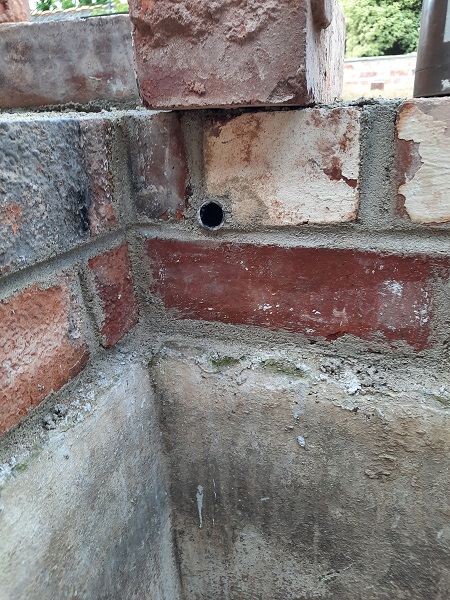
In the opposite corner we set in a two inch plastic pipe and this would serve as a conduit for the electrics which would feed a pump and any lighting.
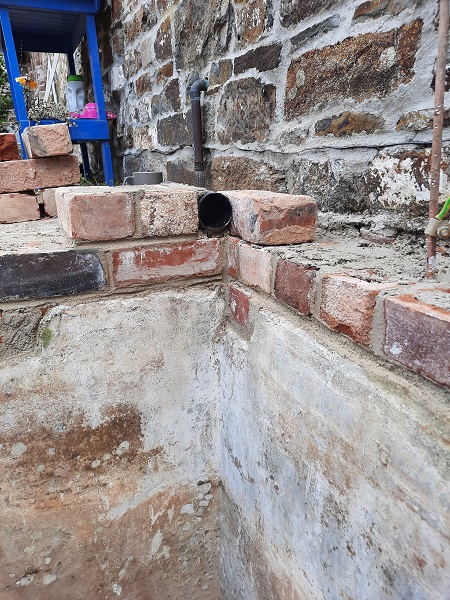
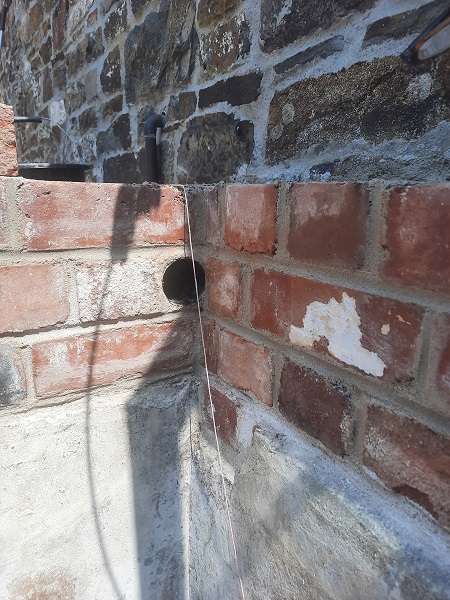
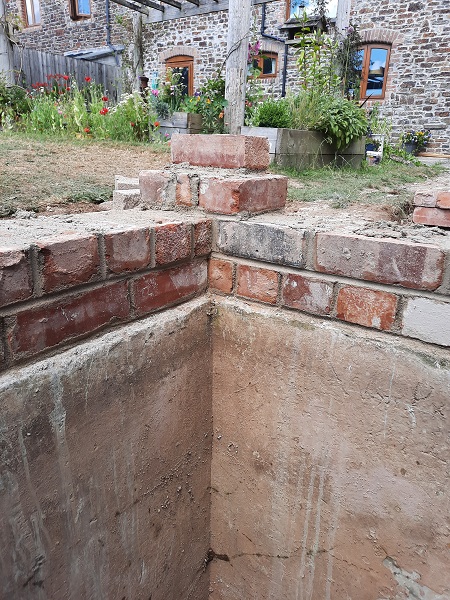
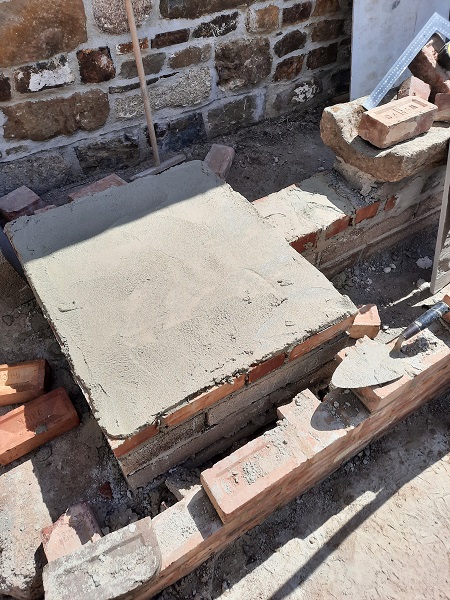
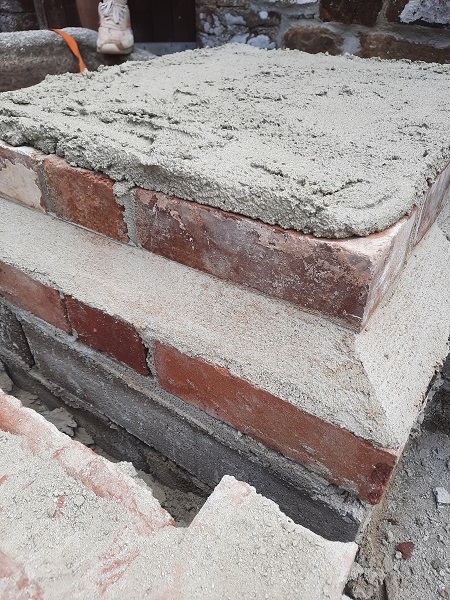
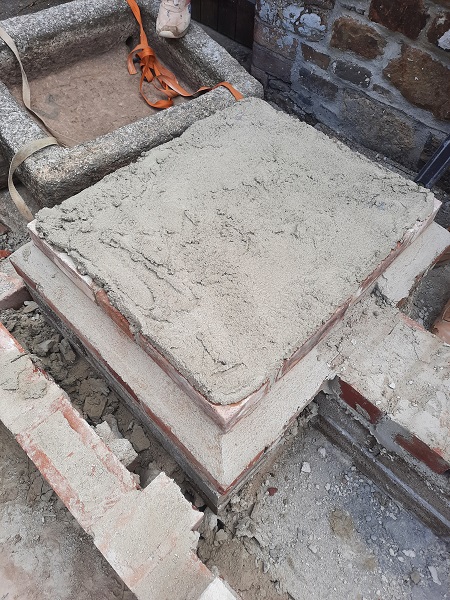
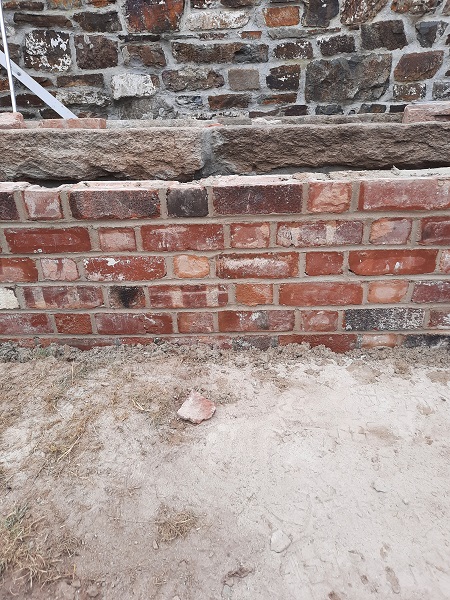
We gradually began bringing the nine inch thick brickwork up around the old slurry pit leaving an opening, for now, in one side. The brickwork bond we used for this is called ‘English’ bond consisting of alternating course of headers and stretchers, it’s also the strongest bond typically used for brickwork.
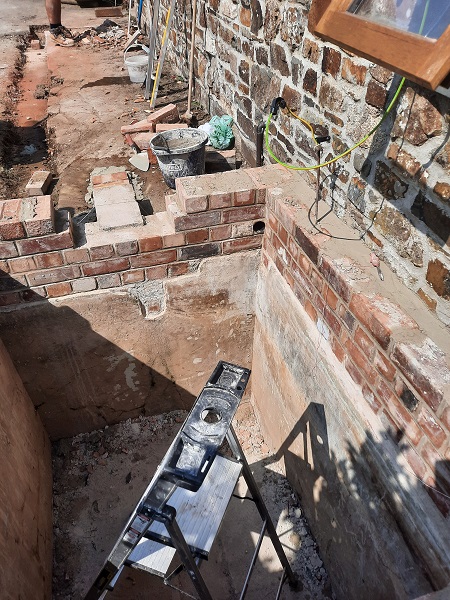
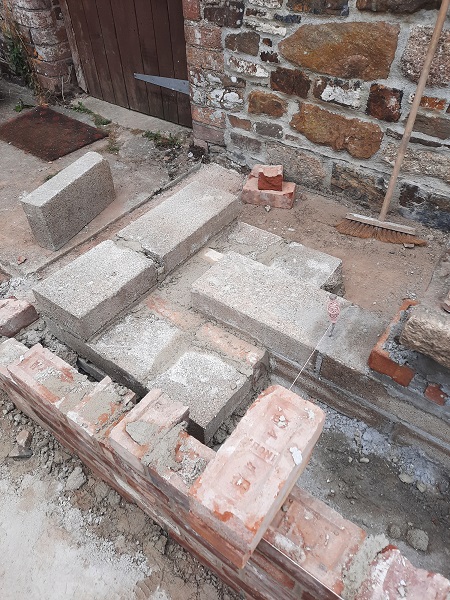
Our next task was to build a nine inch thick concrete block wall which also ran parallel to the piggery wall, but was in the middle of the new proposed planter. The blockwork was never going to be seen once this project was completed. We didn’t need to put in a foundation for the block wall as there was a concrete path here already alongside the piggery wall and this was deemed sufficient to build the new blockwork on.
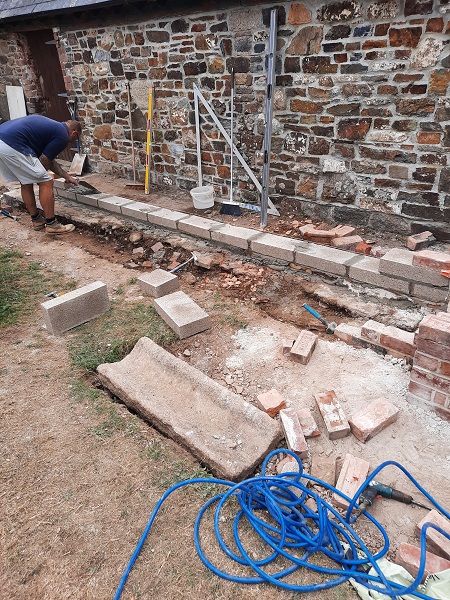
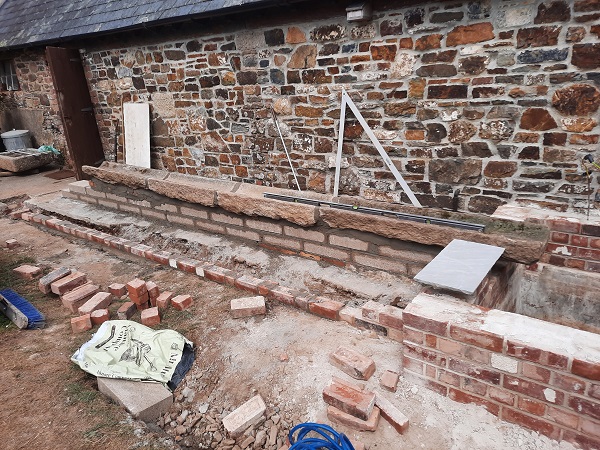
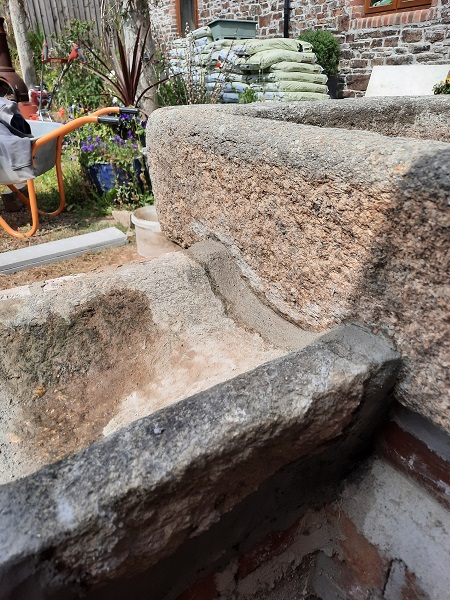
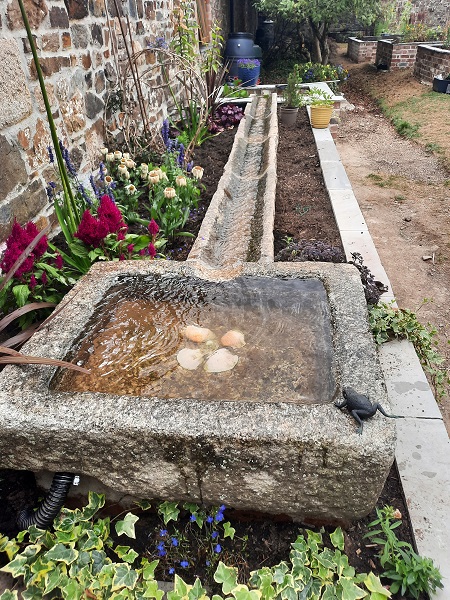
The purpose of this block wall was for it to support ‘Runnels’, which were the granite drainage channels once set in the ground around the original farm courtyard. The next step was to get these runnels into position.
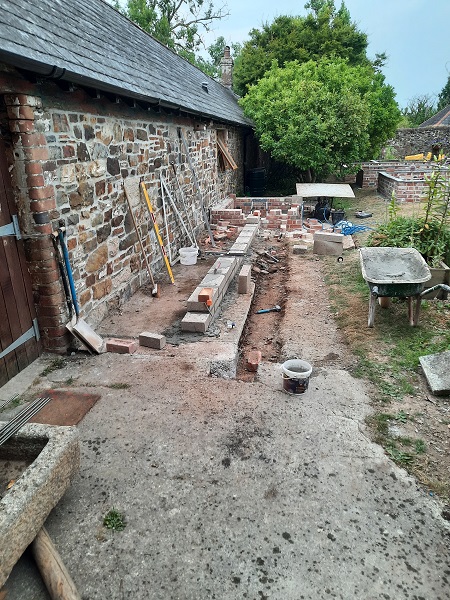
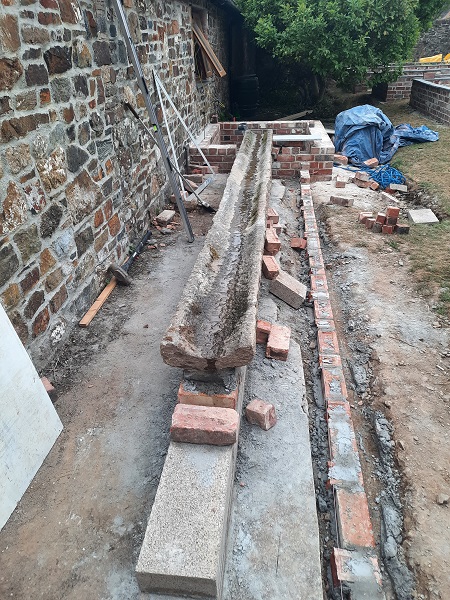
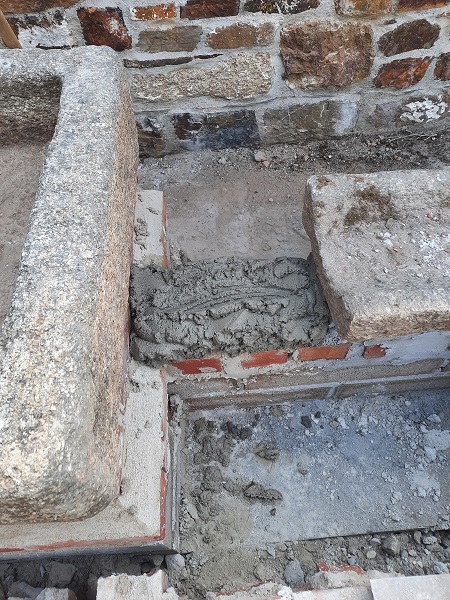
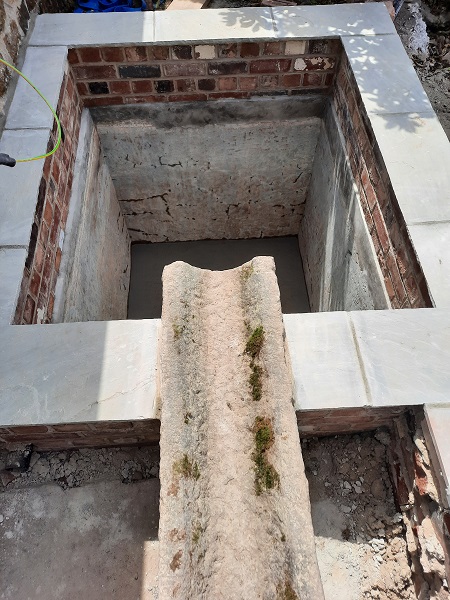
The first runnel was set in on top of the new block wall with a twelve inch overhang into the slurry pit.
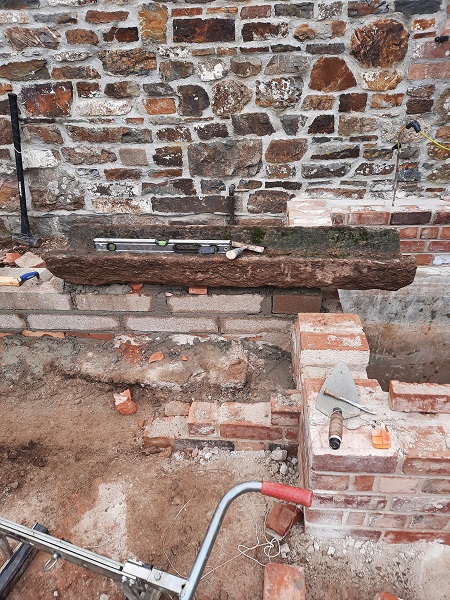
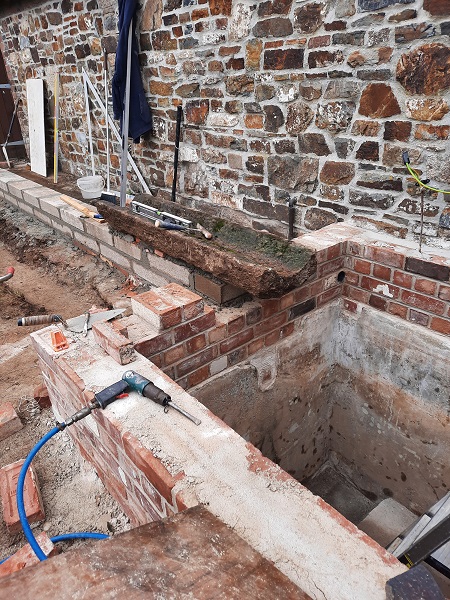
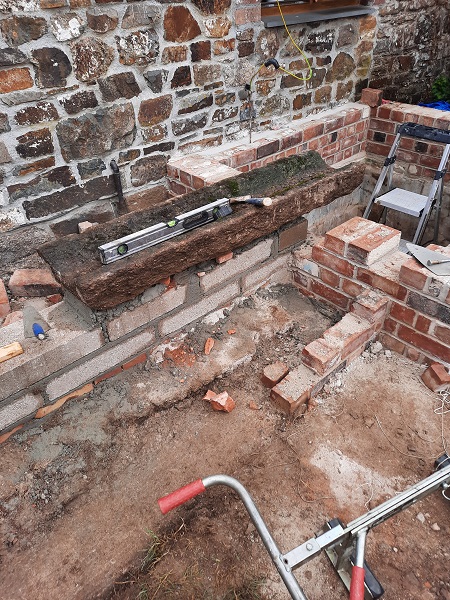
The runnels were about eight inches thick, twelve inches wide with lengths varying between three to four feet. They were laid along the whole length of the block wall with a slight fall and the joints pointed with a sand and cement mortar.
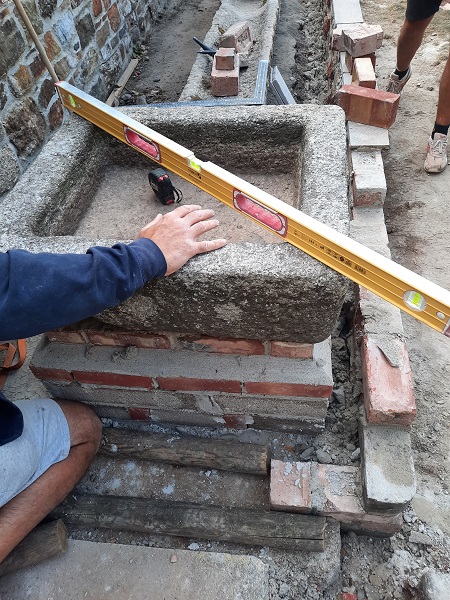
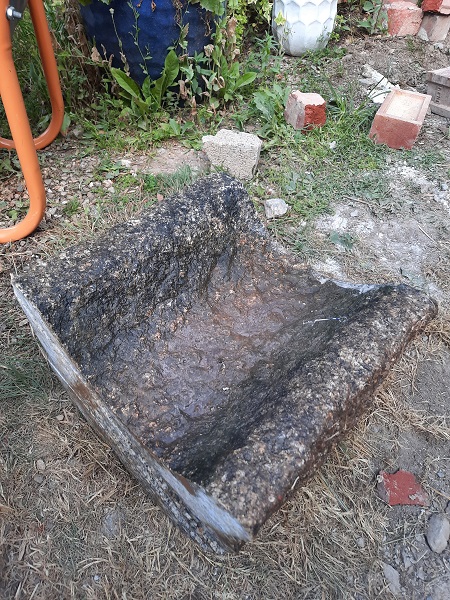
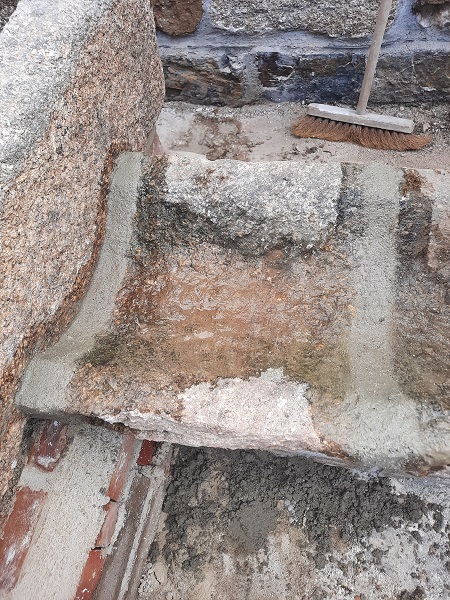
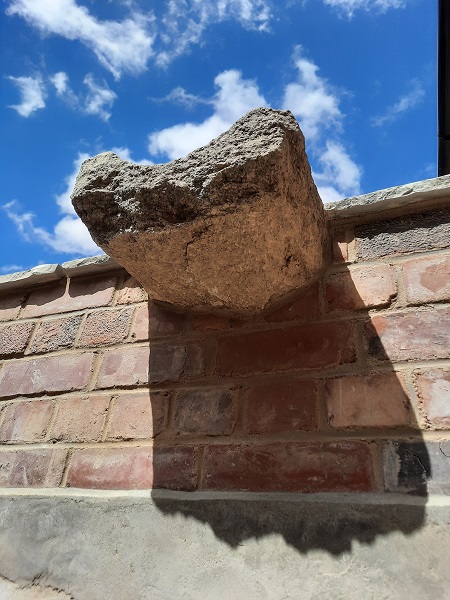
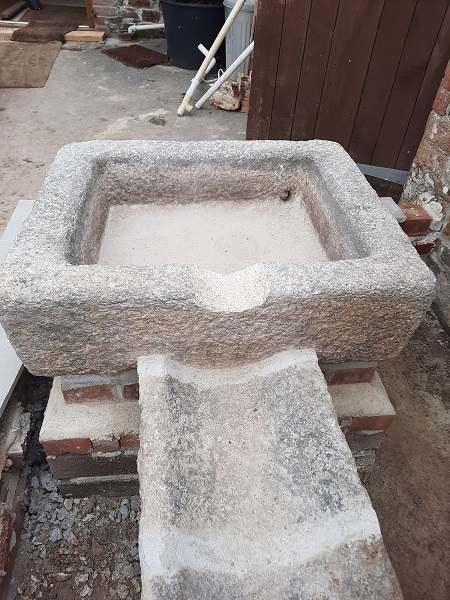
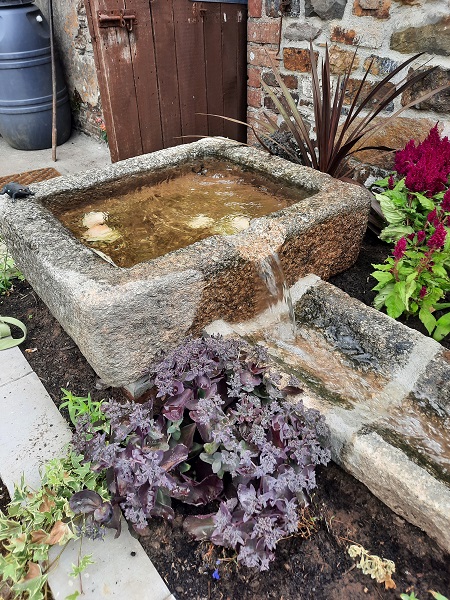
With the runnels in place we then set in a base to support a granite trough that was sourced from a reclamation yard.
The granite trough had to be set in level.
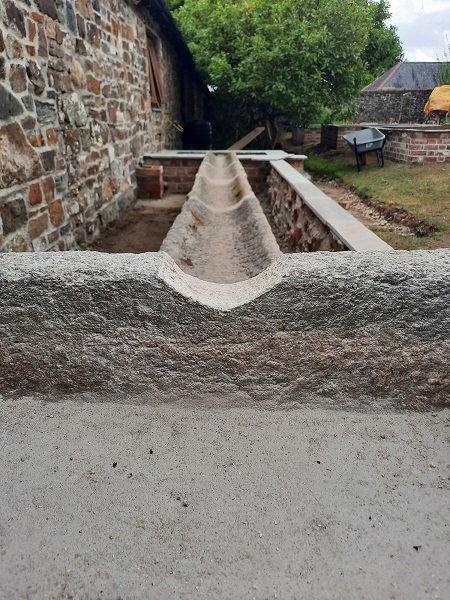
A section of runnel was cut to size.
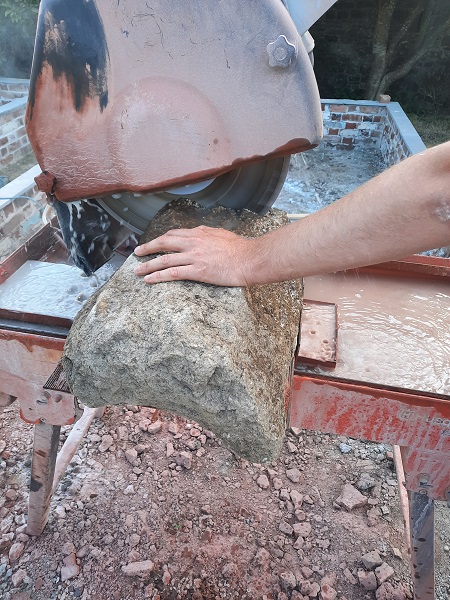
And this was set in to join the runnel up to the trough.
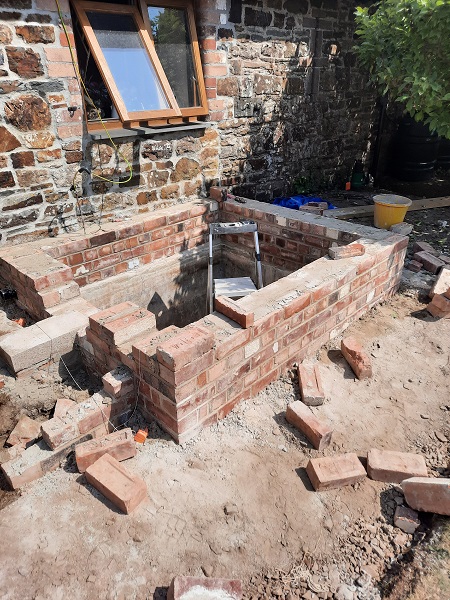
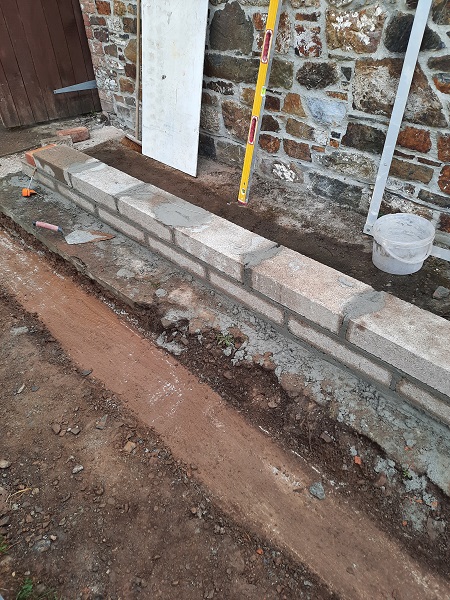
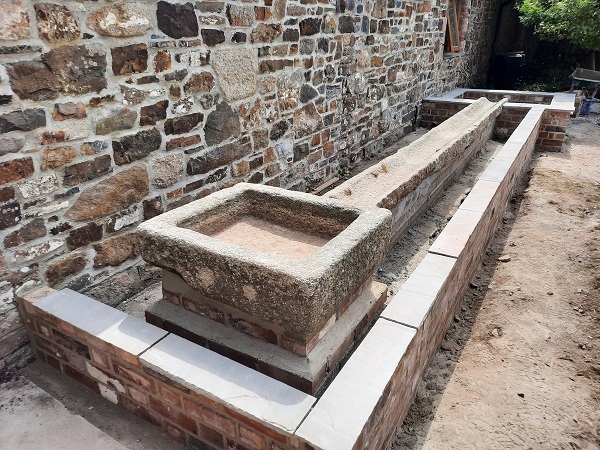
The runnels and trough were now in place so we then proceeded to bring the brick wall up for the raised planter. This brick wall would join up to the brickwork that we had built around the slurry pit and would be brought up level to the underside of the runnels we had set in. The bond of brickwork we used on the planter wall is ‘Flemish’ bond, and this would match the other raised planters we had constructed in the garden previously.
When all the brickwork was complete a coping consisting of Indian sandstone was laid to the top of the walls. This too would mirror all the other copings throughout the garden.


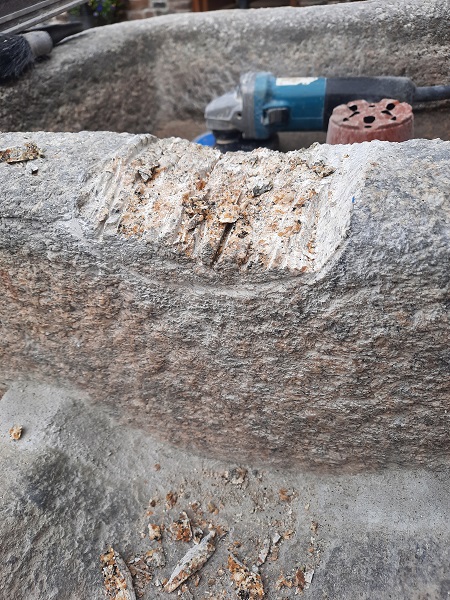
Another thing we had to do was to cut out a half round channel into the top of the granite trough.
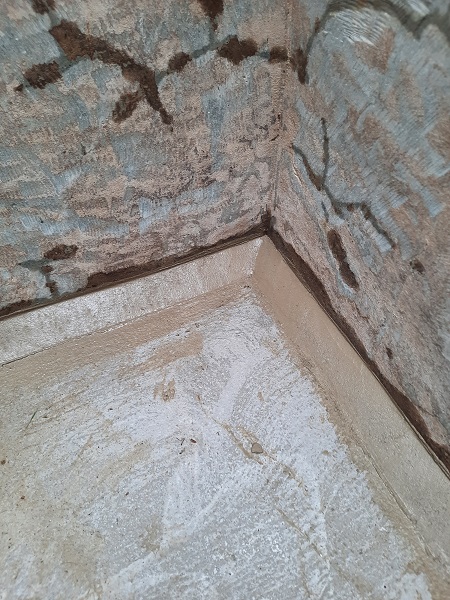
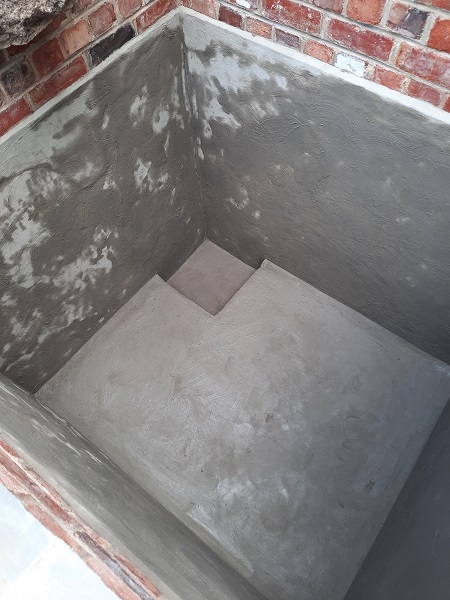
The old slurry pit needed more work to be done on it so first we laid a screed on the floor using waterproof sand and cement to cover the blockwork we had placed in earlier. This screed was laid to falls towards a sump created in the corner.

Once that had set we applied a screed to the sump. This sump would make it easier for future maintenance, should the pond require emptying.

Then we formed a fillet of waterproof sand and cement where the walls met the floor. These areas are vulnerable as cracks can appear in any tanking systems applied.
All the walls were then thoroughly cleaned and prepared and the top edges of the existing rendering made good.
Then two coats of a waterproof tanking slurry was applied to the walls and floor to make it completely waterproof.

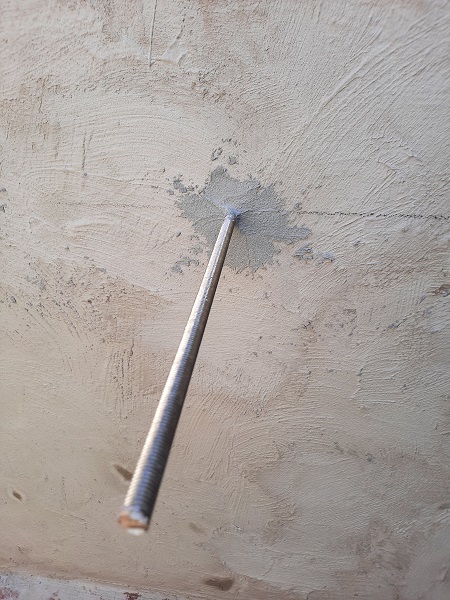
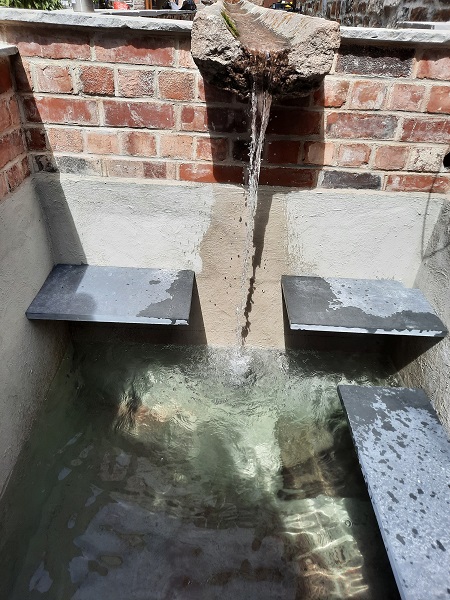
Were weren’t quite finished in the old slurry pit yet though. We had to fix shelving to the walls at varying heights to accommodate pots containing aquatic plants. These were first set out by drilling holes into the walls and fixing stainless steel bars four inches deep using an epoxy anchor resin.
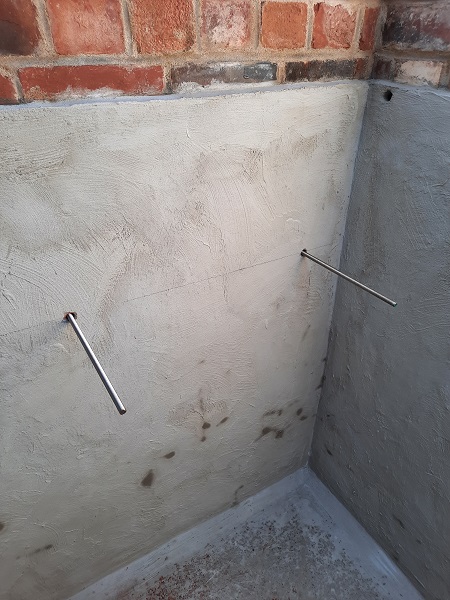
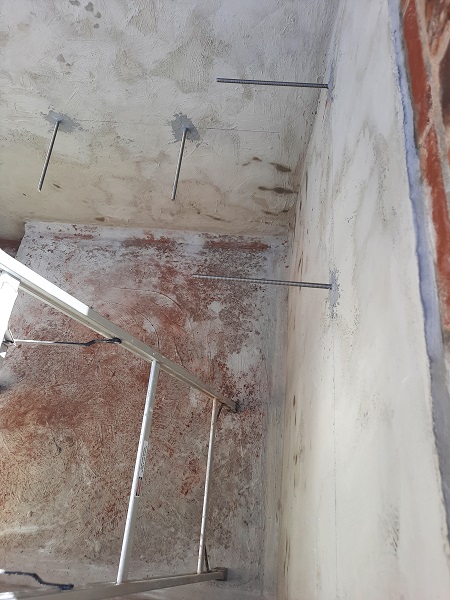
The bars used were three quarters of an inch in diameter and once the anchor resin had set they were given a coat of tanking slurry where they were fixed into the wall to make sure it was waterproof.
The shelving was placed onto these bars and they were cut out of natural slate, one inch thick and twelve inches wide to give the impression of floating shelves.

One other thing we had to construct was a simple box out of brick within the planter itself. This was going to house the filter for the pump and would retain the soil that was going to be placed into the planter. A slab of Indian sandstone was placed on top which could easily be lifted off to maintain the filter at any time. The wall of the piggery was also tanked with a waterproof slurry to prevent damp from the planter entering the property inside.
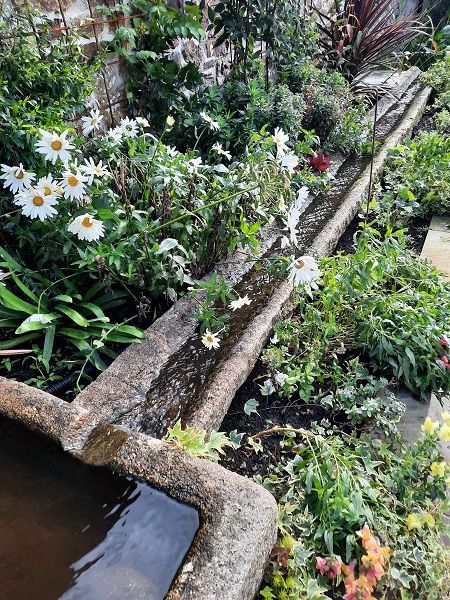
With all that work completed it was time to fill up the planter with some good quality topsoil and get those plants in.
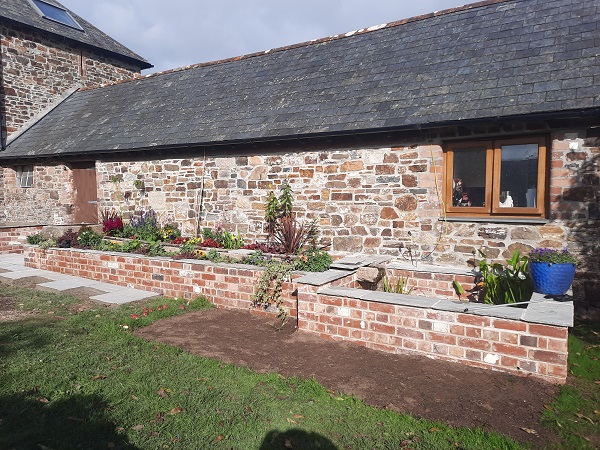
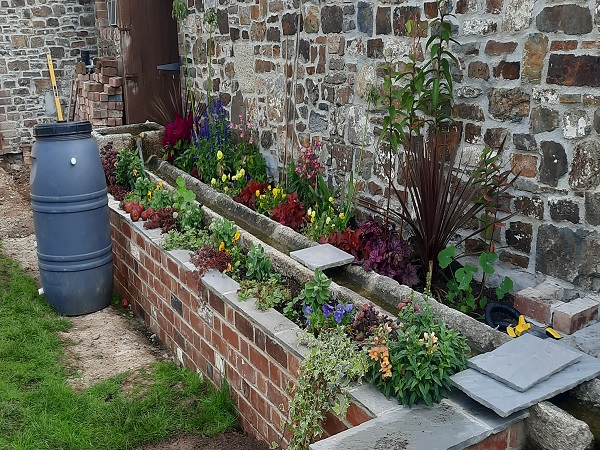
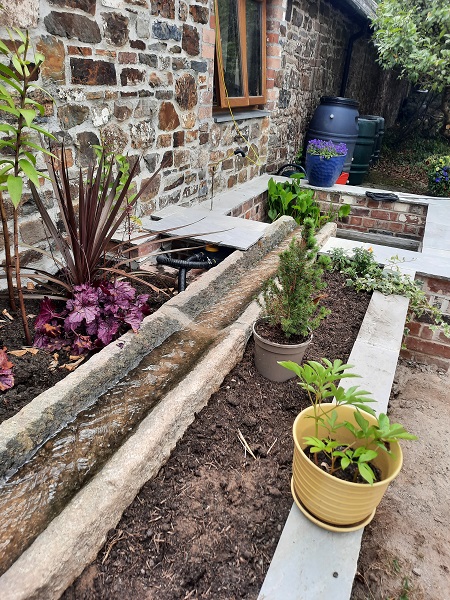
And finally it was time to fill that old slurry pit up again, only this time with water.
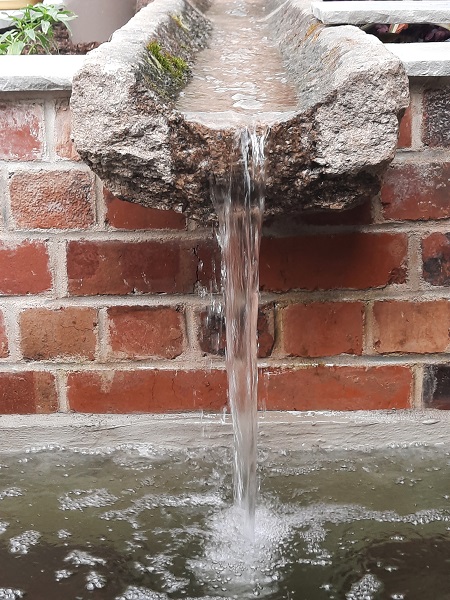
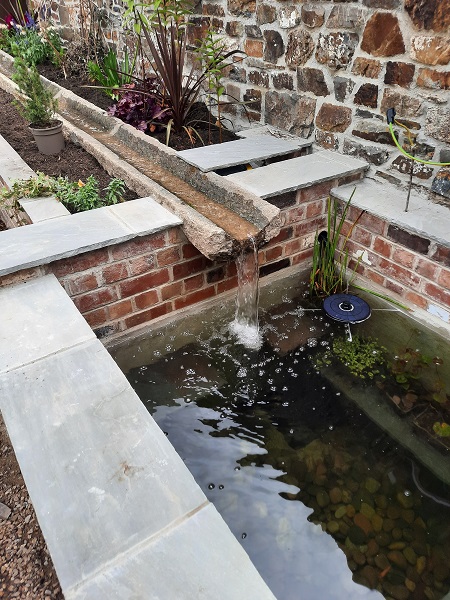

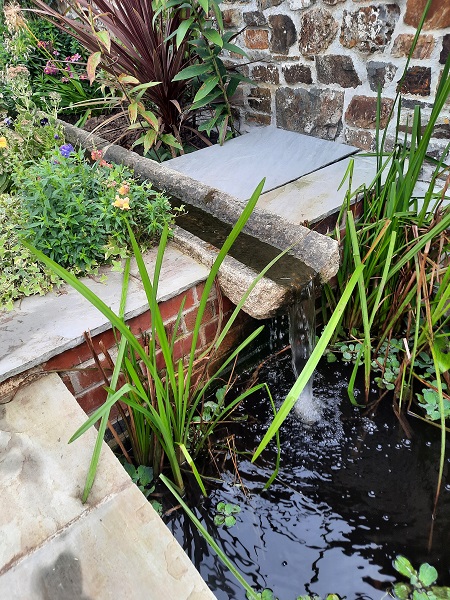
This water feature works on a re-circulating pump which pumps the water from the old slurry pit (the reservoir) up to the granite trough. The water then goes back down the granite runnel into the pond….or what was once the old slurry pit.
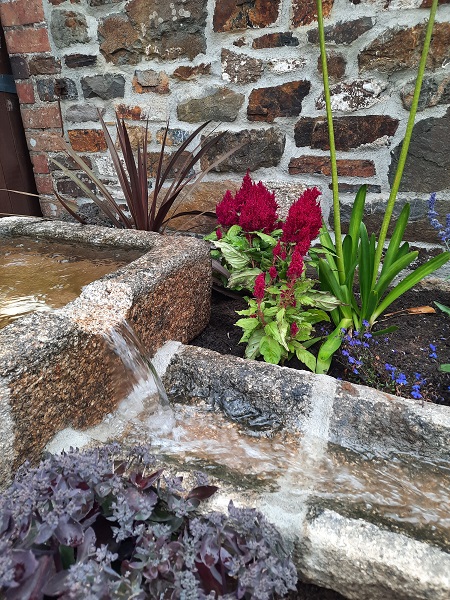
You can’t beat the sound of running water.
And that’s how to capitalize on an old slurry pit.
A far better way that just filling it in!