

Ocean Court / Parapet ~ Stonehouse Pool, Plymouth.
Client : O.C.R.A. Ltd.

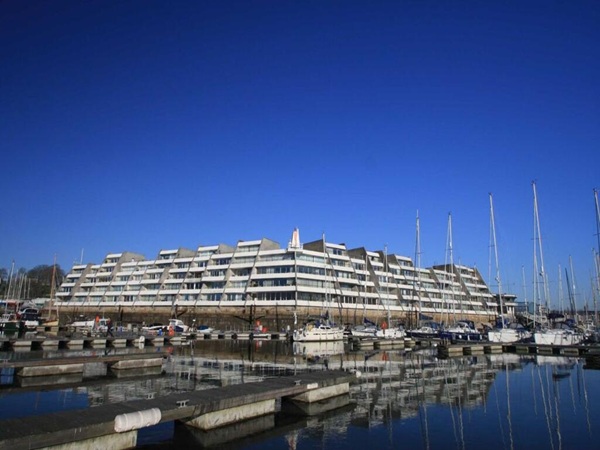
Ocean Quay, known at the time as Devonport New Quay, was thought to of been constructed between 1885 and 1888. It was built here to facilitate the unloading of vessels so that the cargo could be transported by rail. The last train left the quay in 1966 and the quay gradually fell into dis-use. Then in the 1970’s the land here was sold off for redevelopment and Ocean Court was built. Ocean Court is a group of waterside apartments overlooking the sea at Stonehouse Pool, with views of the historic Royal William Yard, Drake’s Island and Mount Edgcumbe, which is just across the water in Cornwall. The architect was John Warren and it was built to look like an ocean liner reflecting the quay’s diverse maritime history.
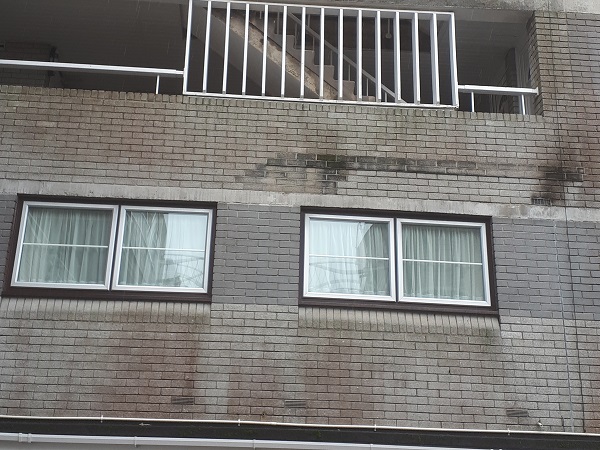
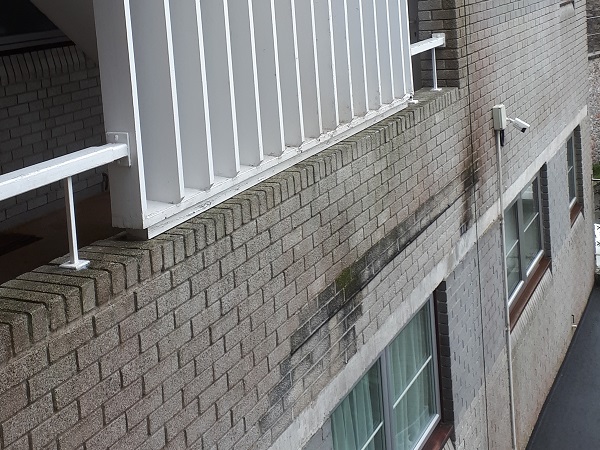
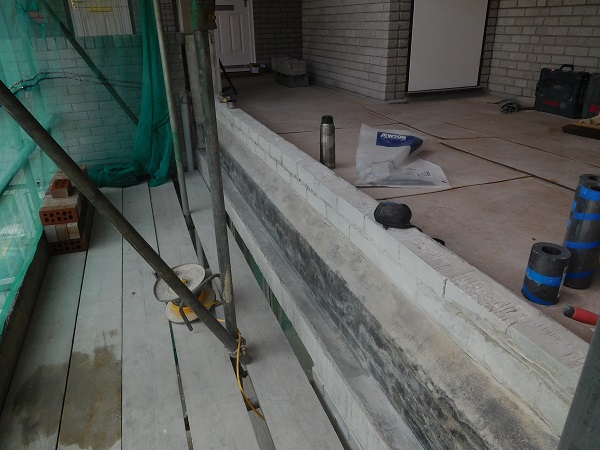
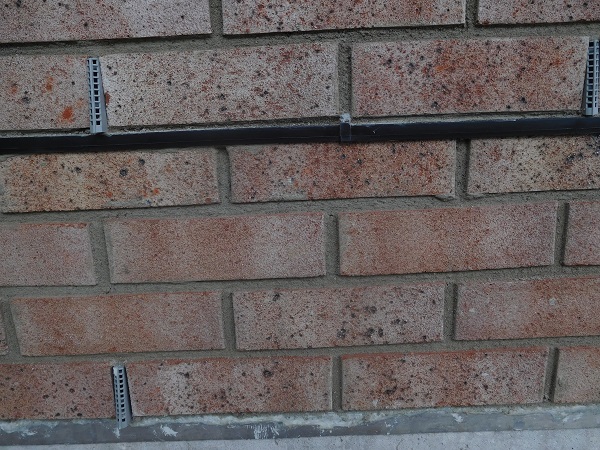
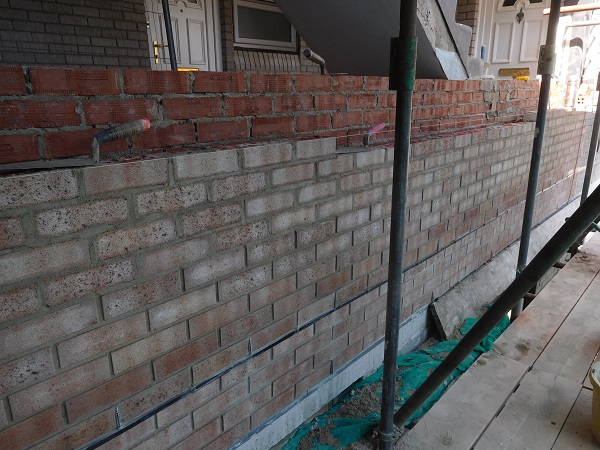
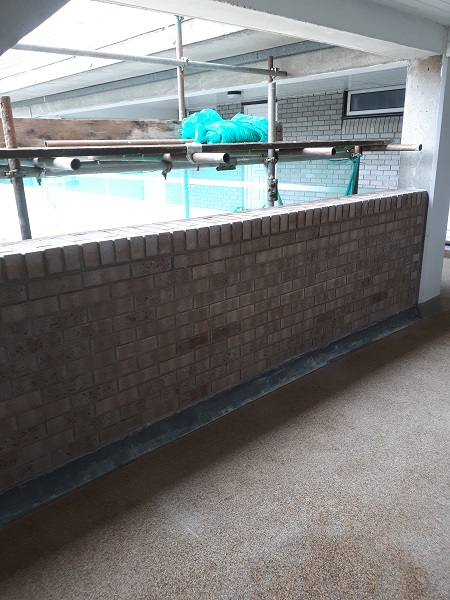
We do a lot of maintenance here at Ocean Court and this time we were called in to take a look at a parapet wall that ran along one of the walkways. Damp was making its way down into the apartment below and this was evident from the black staining which was visible on the brickwork.
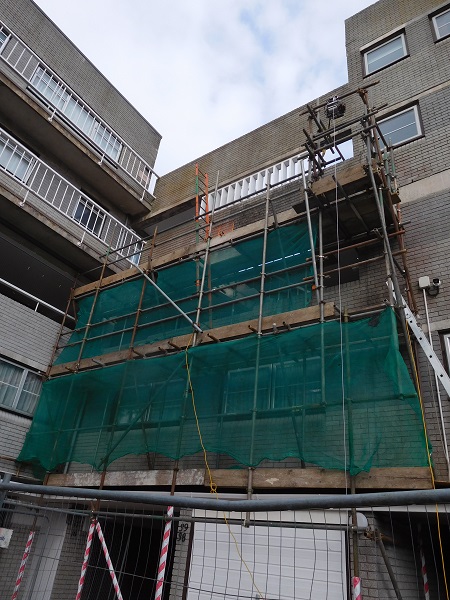
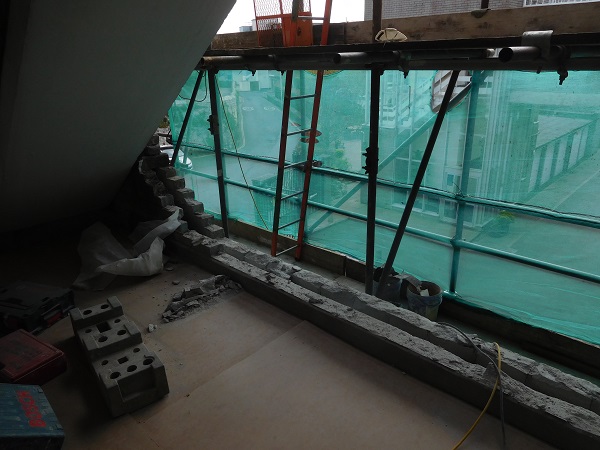
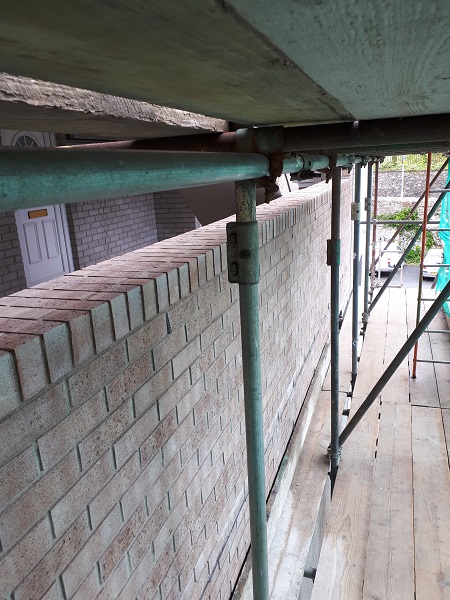
A scaffold was set up complete with a hoist along with a site compound.
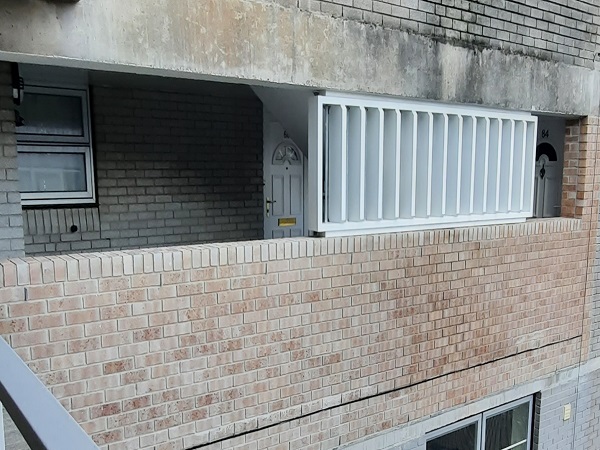
A structural engineer had been appointed and drawings and specifications were given to us. The parapet was going to be taken down and then put back again. On top of the parapet wall was a wooden screen.
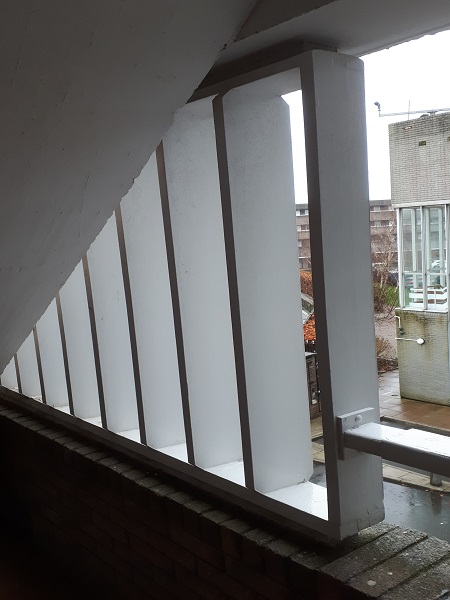
The timber screen was acting as a safety barrier for a flight of steps that ran up behind the parapet wall. The screen had to come out before we could demolish the wall. It was going to be replaced anyway as the timber was rotting away. Once the timber screen was removed we started taking down the parapet wall.
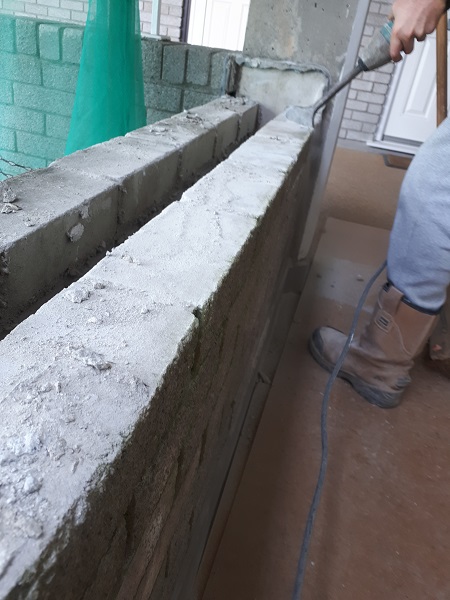
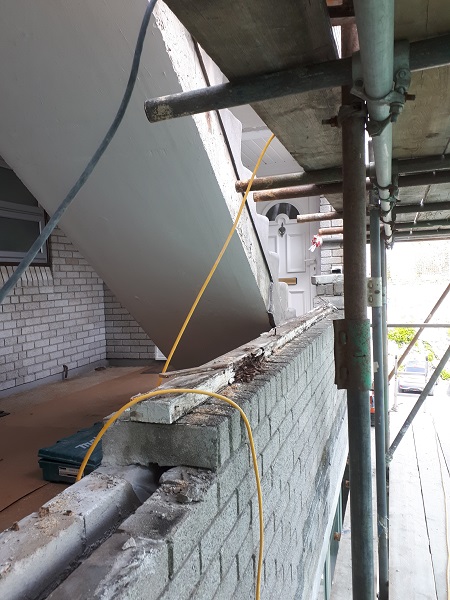


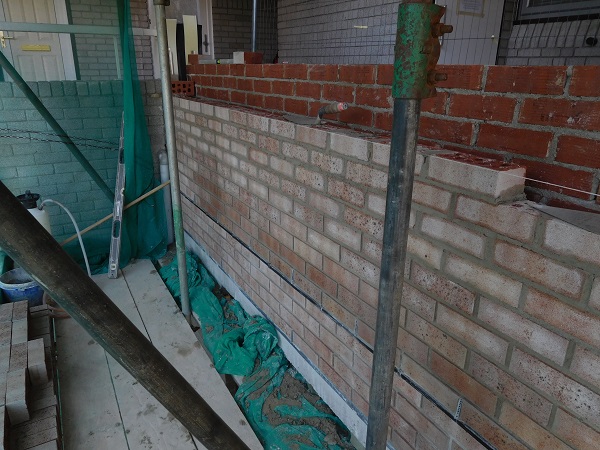
The parapet wall was a cavity wall construction with face brickwork on both sides. The internal leaf was taken down to within one course of brickwork above the existing floor level on the walkway.
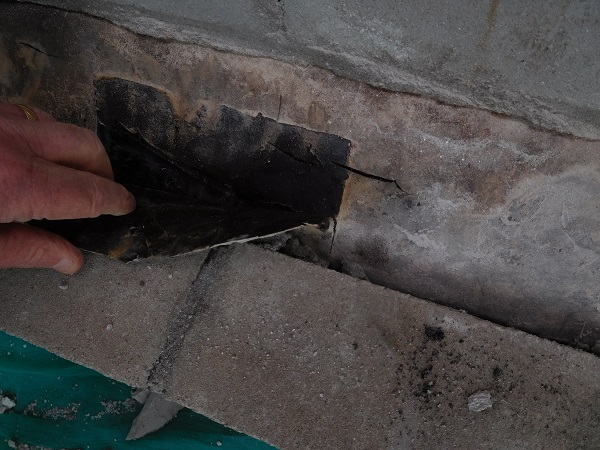
The outer leaf was going to be taken down a further seven courses again to where the top of the concrete floor slab was, and where all the original damp proof courses and membranes had been put in. As we progressed further down it soon became apparent that the damp proof course bridging the cavity at this level had been damaged and someone had tried to do a quick repair that had obviously failed, and this had been done whilst it was being built originally. Also the damp proof course showed several areas along its length where it had split. The damp proof courses used back in the 70’s tended to be mineral felt based and these do not cope very well with expansion and movement within masonry structures and inevitably they become brittle and split easily.
Directly under this damp proof course a plastic Visqueen membrane had been put in to protect the concrete floor beam, and this too showed signs where the membrane had been cut and just left.
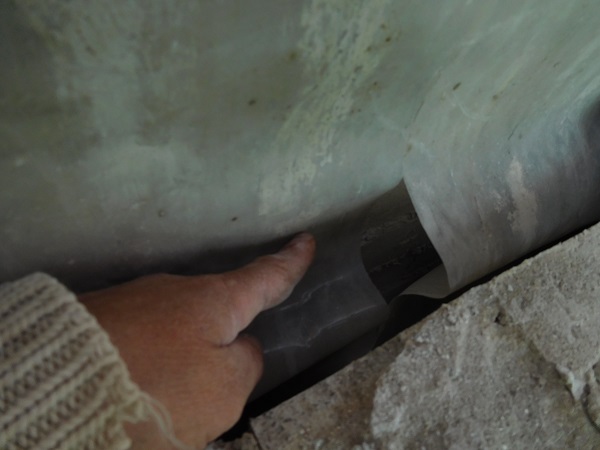
No wonder water was finding its way into the building. Finally after all the brickwork, damp proof courses and membranes were removed, the top of the concrete floor beam was exposed and prepared.
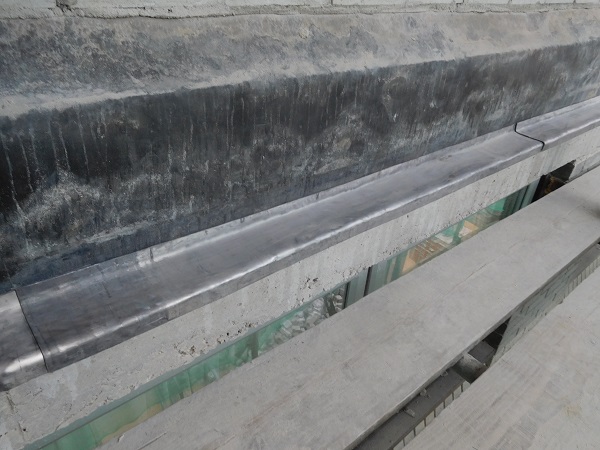
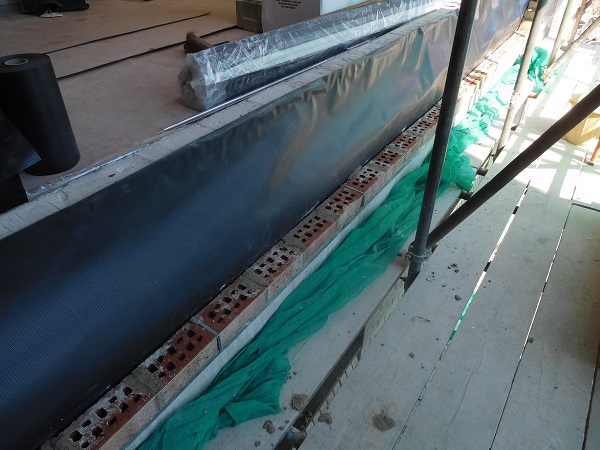
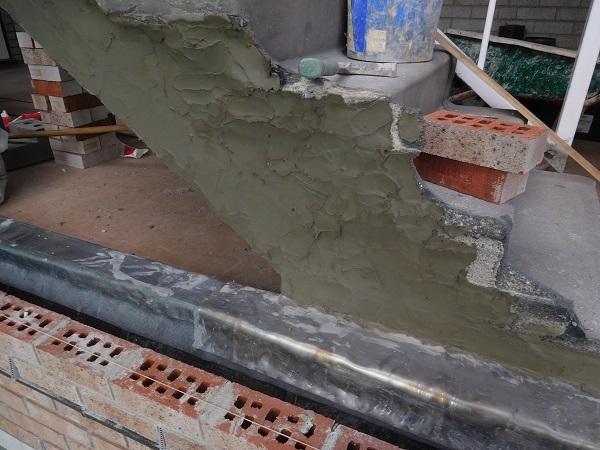
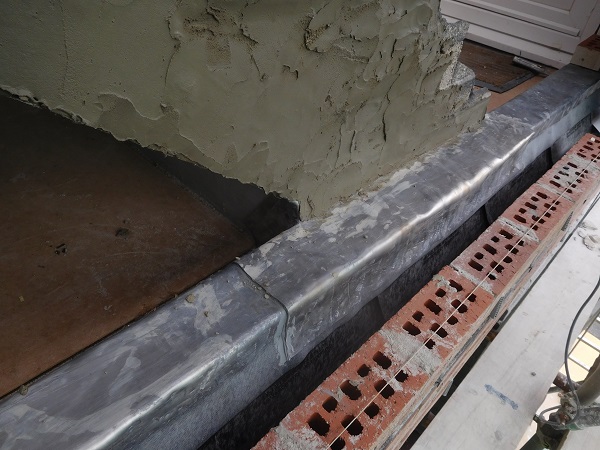
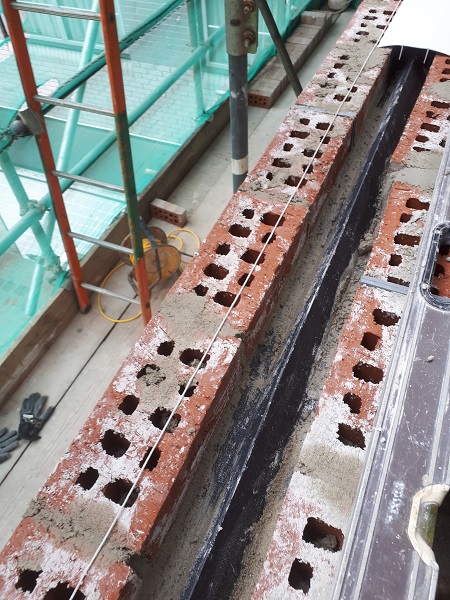
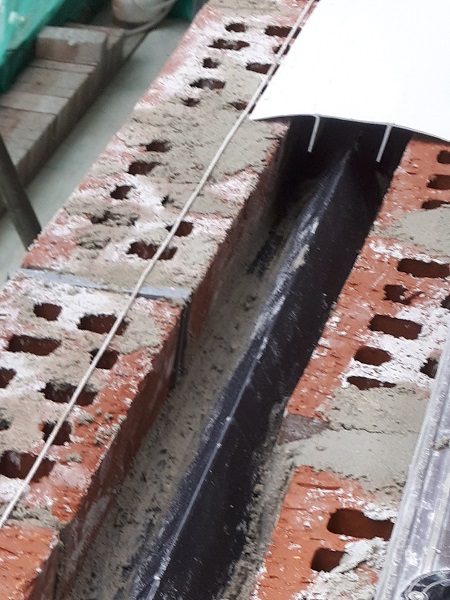
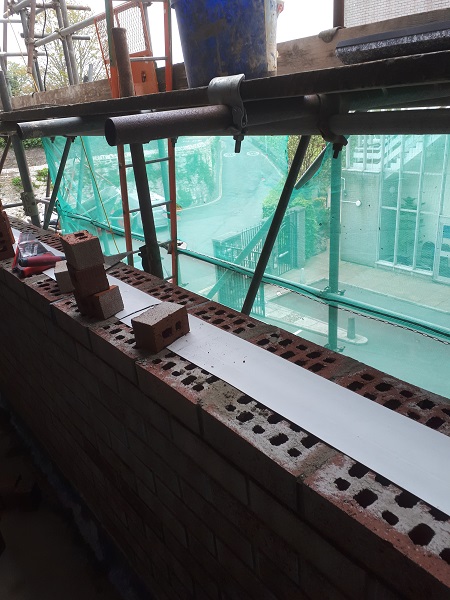
The specification asked for a lead tray to be placed on top of the floor beam. For this we used 150mm wide code 4 lead which was turned down over the face of the concrete floor beam by about 25mm and at the back it was also turned up 25mm. The lead was put in using lengths of 1500mm with a 150mm overlap to allow for expansion.

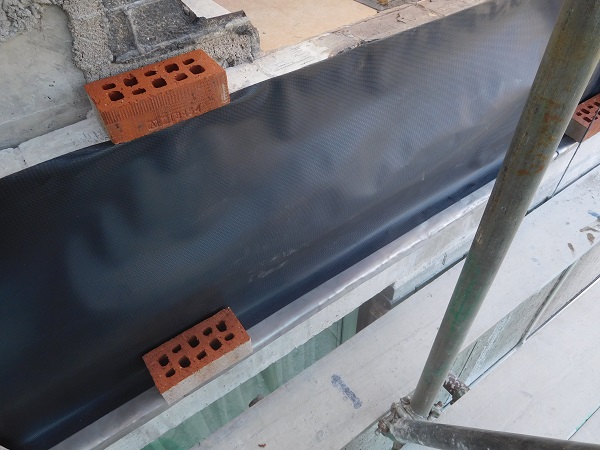
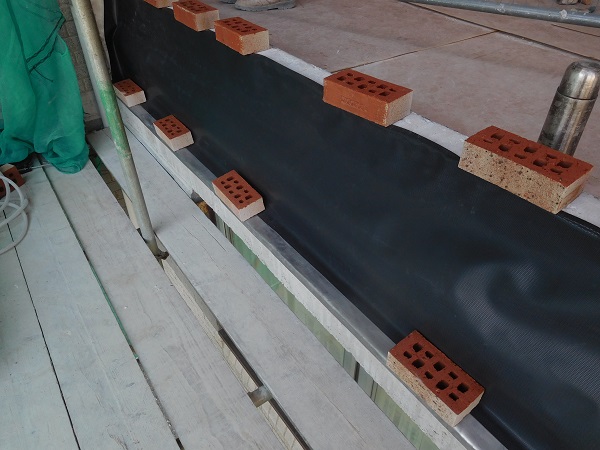
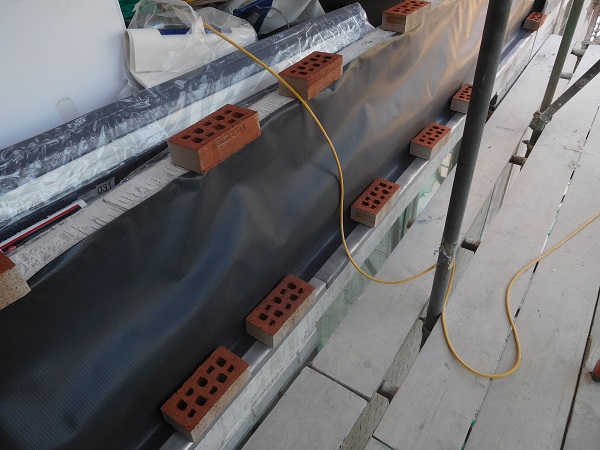
Once the lead was placed in, we put in a 450mm wide continuous length of damp proof course over the new lead which covered the face of the concrete floor beam.
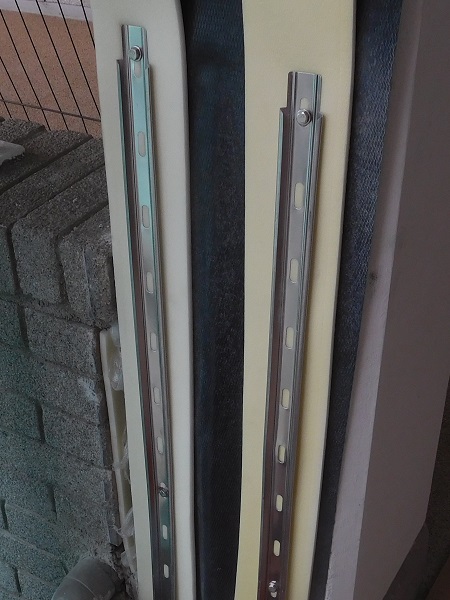
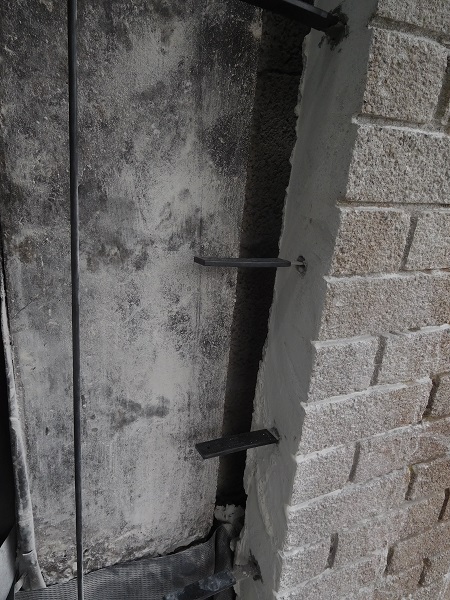
Before we could lay any brickwork we had to fix stainless wall starter ties at each end to tie the new brickwork into. This also incorporated a vertical D.P.C (Damp proof course), with a 100mm strip of Hydrocell to form an expansion joint.
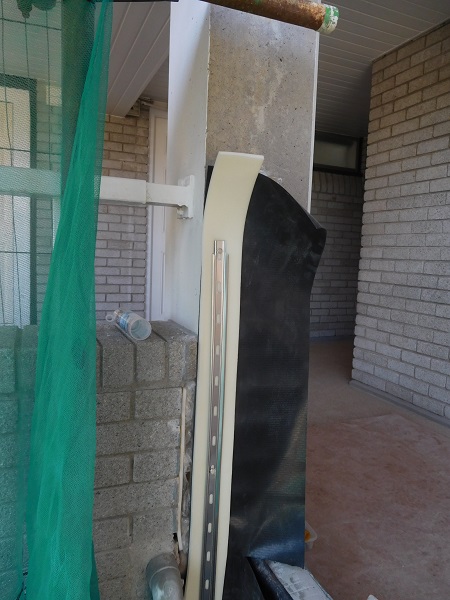
These are fixed in to tie both the inner and outer leaves of brickwork.
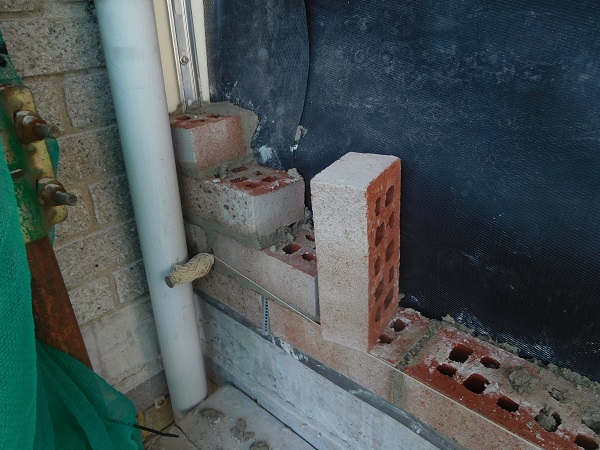
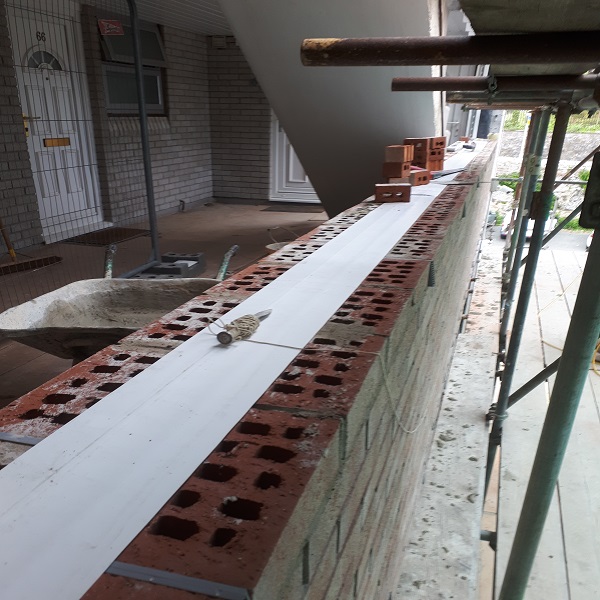
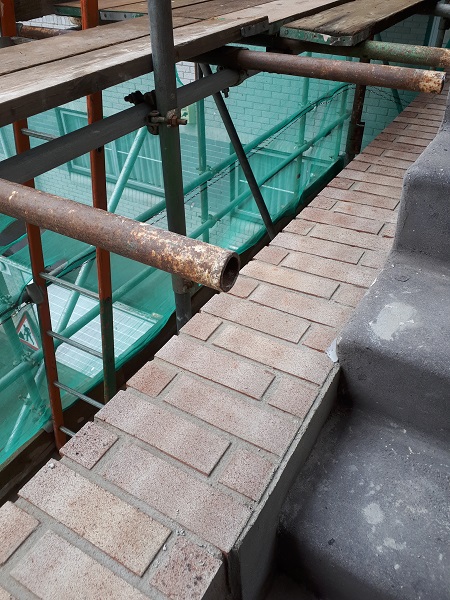
Now it was time to get the brickwork started. Quoins were built in first at each end and then we ran the first course of brick along the top of the floor beam, which had weep holes incorporated. The 6:1:1 mortar we used consisted of six parts fine sand, one part cement and one part lime.
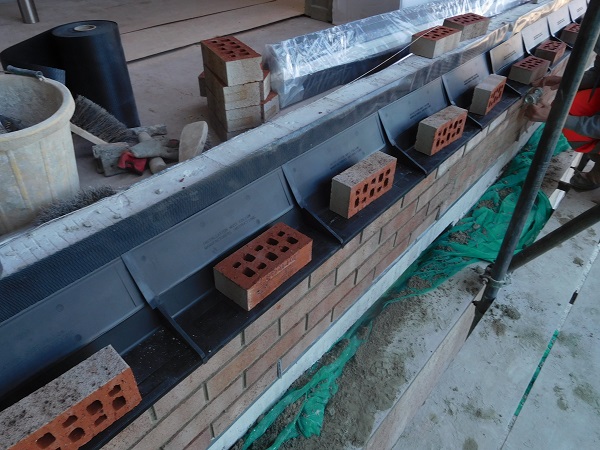
The outer leaf of brickwork was brought up four courses high and then cavity trays were placed in.
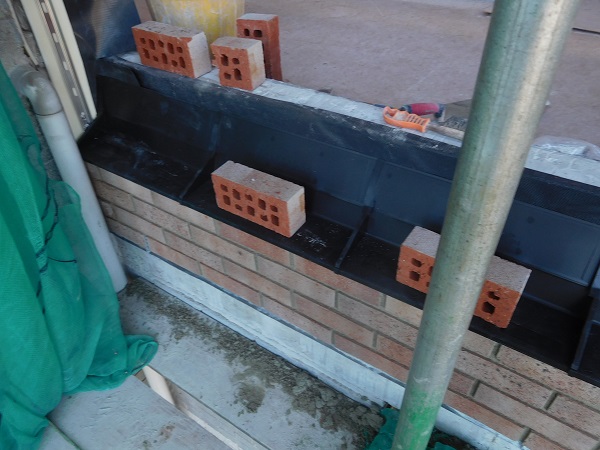
These trays are interlocking. They bridged the cavity and butt up against the membrane we put in previously that covered the floor beam. The trays are designed to suit brickwork.
The jointing to the brickwork is raked out as the work proceeds and this is achieved by using a tool called a ‘chariot’.

A further two courses of brick were laid to build in the cavity trays and to bring us up level with the brick course on the inner leaf. A weep hole was put into each individual tray.
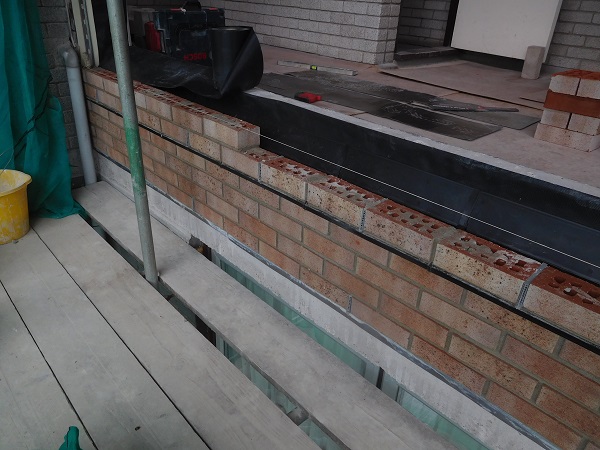
Now the outer leaf was up to height, we turned our attention to the inner leaf. A code 4 lead flashing was put in. The lead was 300mm wide. This gave a 100mm cover to the existing asphalt upstand on the walkway, it went a further 100mm over the brick and gave another 100mm cover over the back edge of the cavity trays that were built in.
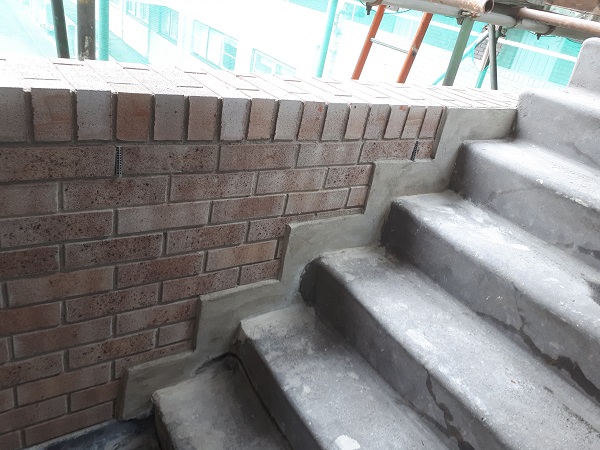
The side of the steps were also tanked with a tanking slurry to waterproof the concrete in that area where it would be against the new brickwork.
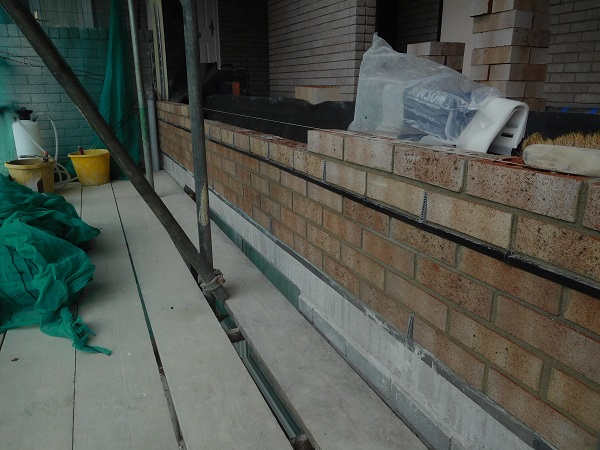
The inner leaf on the walkway side was brought up first.
And then we jumped back on the outer leaf.


Now that the two leaves of brickwork were up, we could concentrate on the coping. First a cavity closer was built in to prevent water penetrating down through the brick coping.

This course also had weep holes inserted. Then an additional cavity closure was put in to close the cavity off completely.
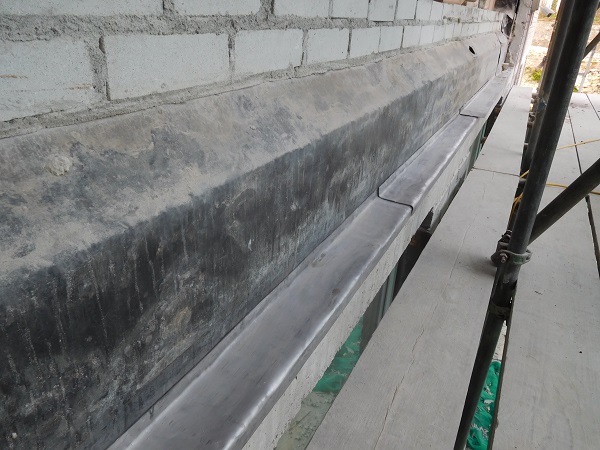
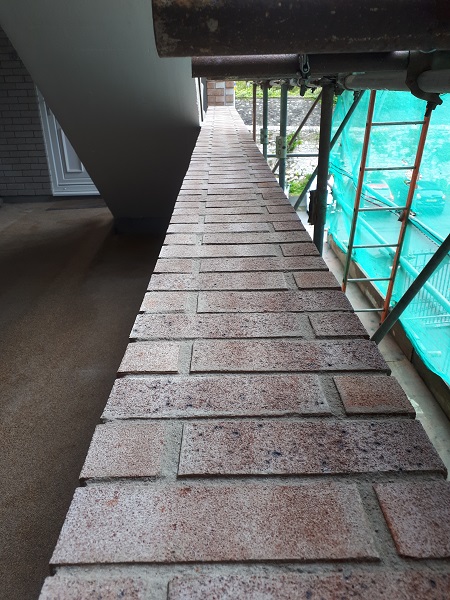
Now it was ready for the brick on edge coping. This was bonded and all bricks were cut on water fed bench saw with a diamond blade.
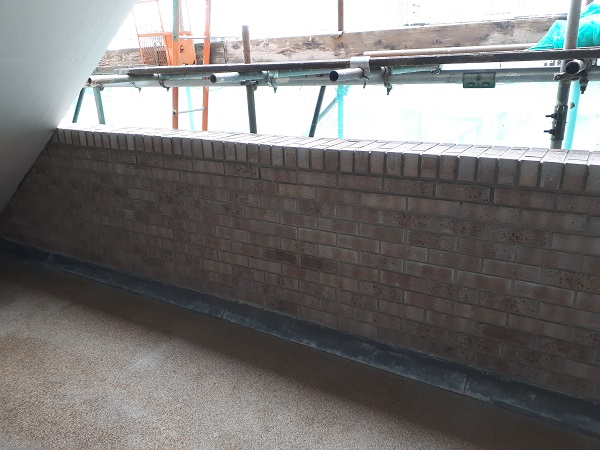
The expansion joints were finished with a with a polyurethane mastic compound.
The upstands to the steps were made good with a waterproof sand and cement.
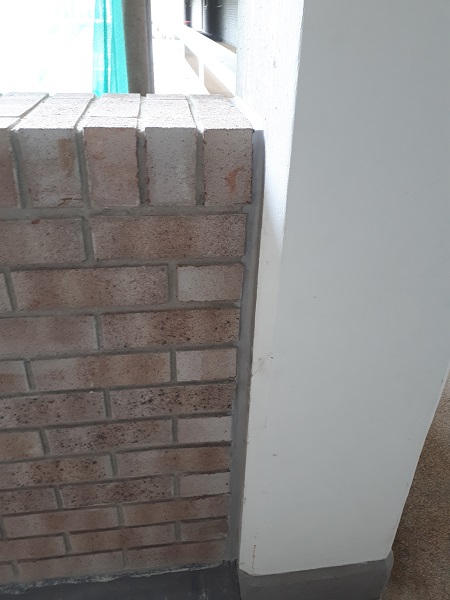
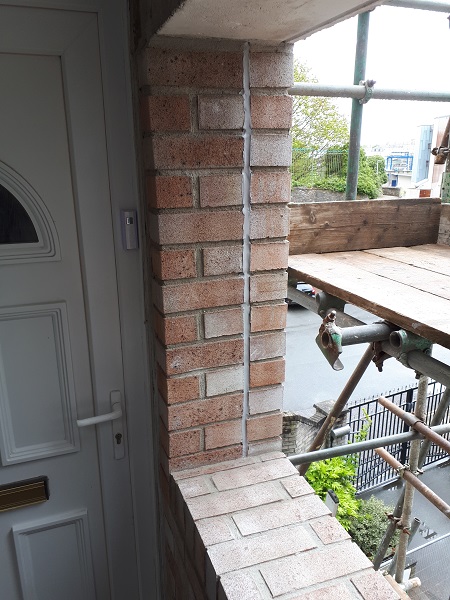
The last bit of brickwork we had to put in was to finish off the pier at the end where it joined into an upright concrete stanchion. This was tied back with stainless steel starter ties and slip ties which allow for lateral movement.
Damp proof membranes and expansion joints were also allowed for.

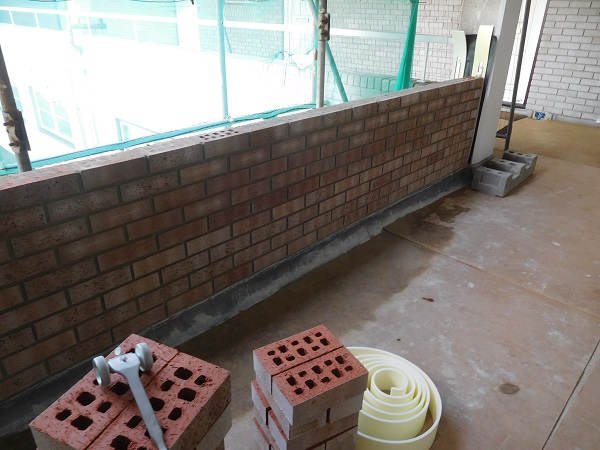
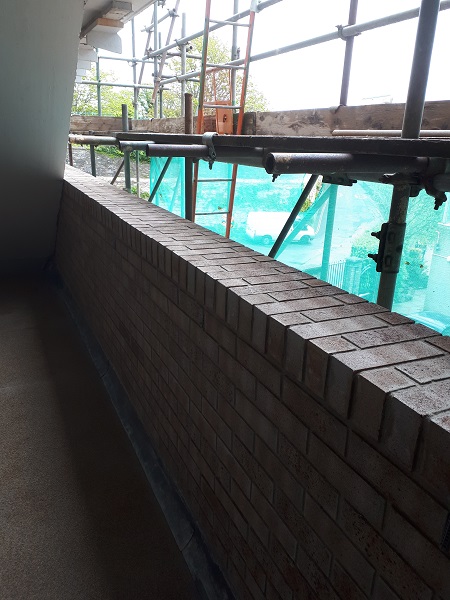
Once all the work had been completed the new timber screen was re-instated and the scaffold taken down.
A parapet wall that is now well and truly weather proof.