

Keynedon Barton ~ Sherford, South Devon.
Client : Private.

Keynedon Barton is situated in Sherford on the outskirts of Kingsbridge in South Devon.
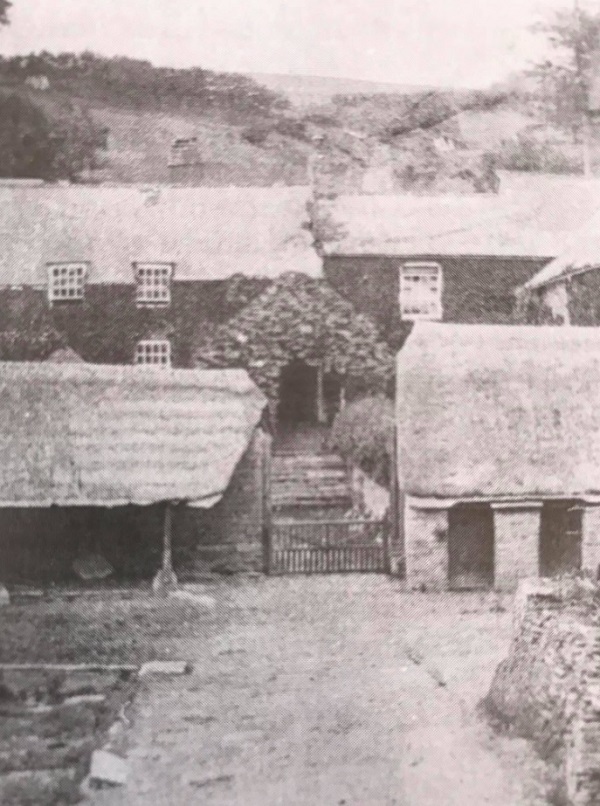
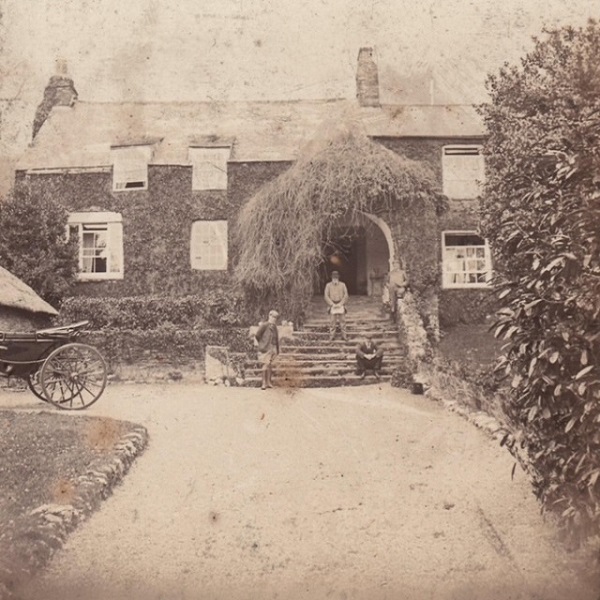
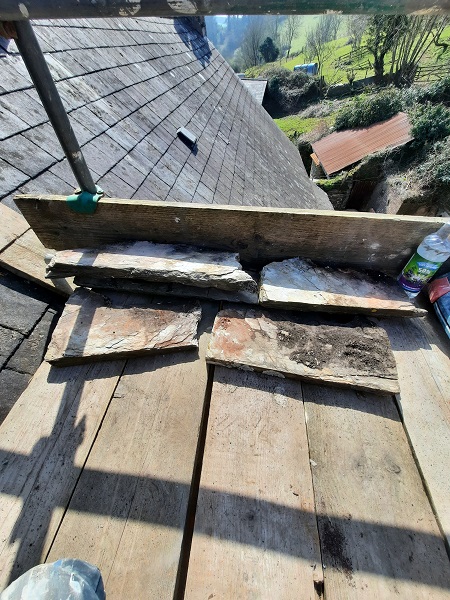
The farmhouse along with its associated buildings are Grade II* listed. Its history can be traced back to the Domseday. We have done a lot of work here over the years, this time we were asked to sort out a couple of chimney stacks on the farmhouse. One of those chimneys was a small stack belonging to the dairy situated on the tenement at the back of the farmhouse. If you want to see the work we carried out to this small chimney, then click here. The other stack was the main chimney for the farmhouse.
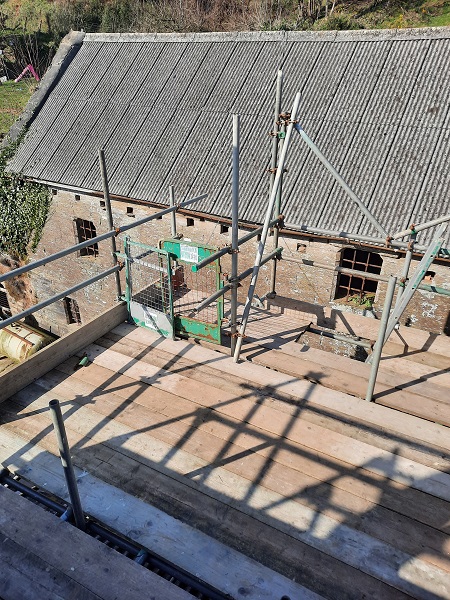
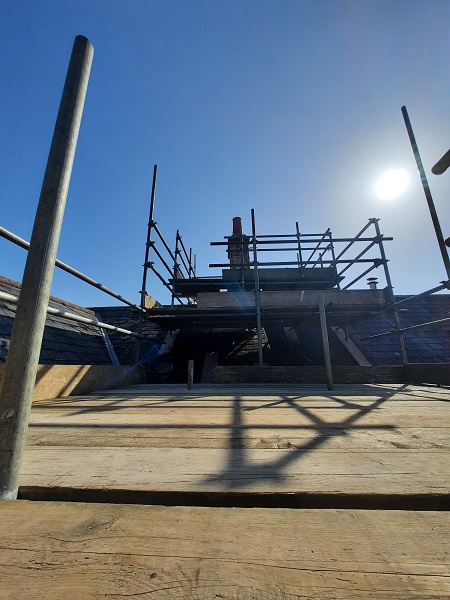
A scaffold was erected and we got up to take a look.

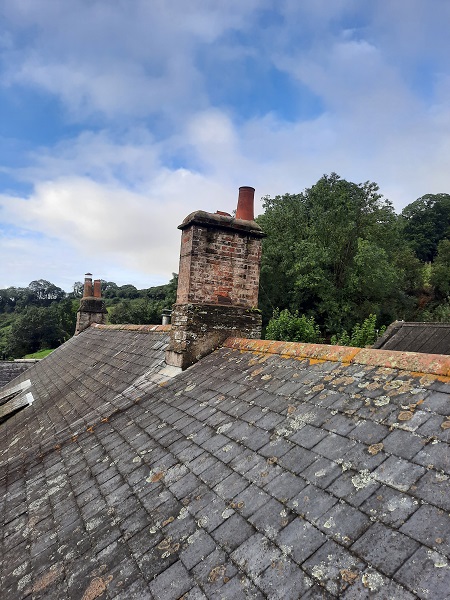
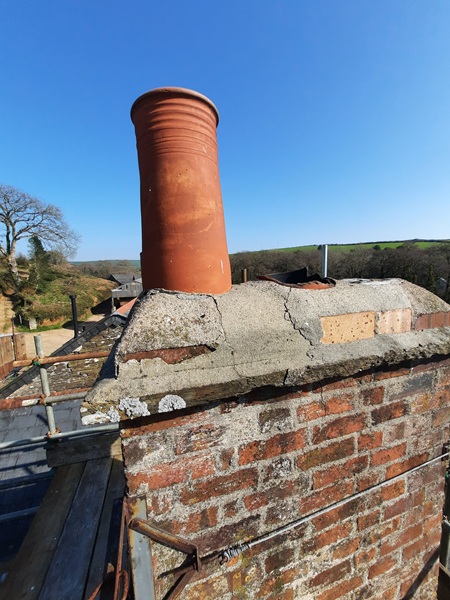
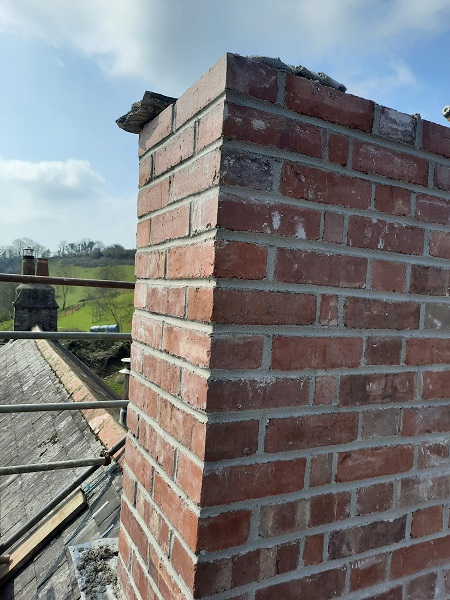
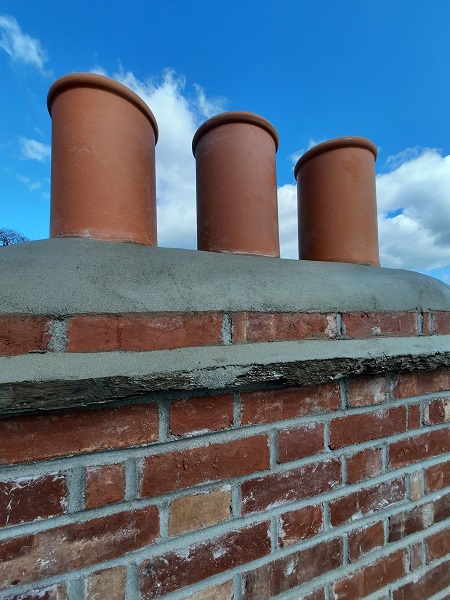
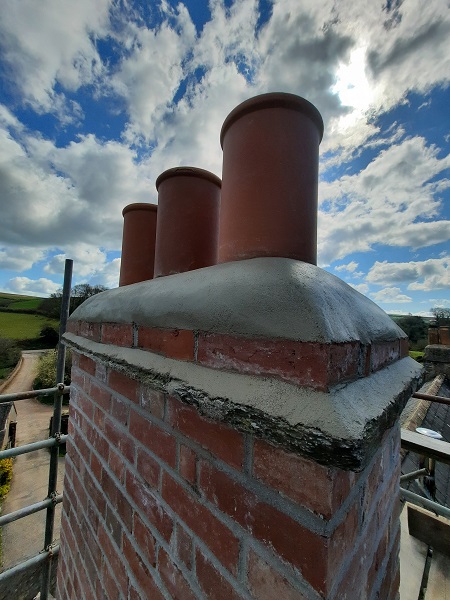
We knew there were damp problems, and on closer inspection it soon became evident why that was the case. The chimney was constructed in brick and consisted of three flues. The chimney pots were cracked or missing and all the flaunching on top was failing. The brick chimney stack also had visible cracks that ran vertically from top to bottom. Also vegetation was beginning to take root.


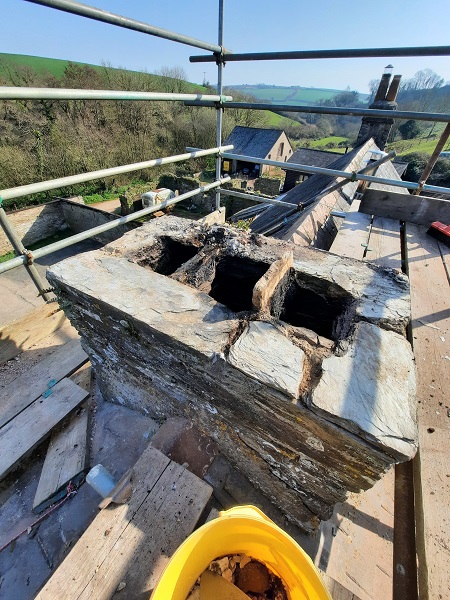
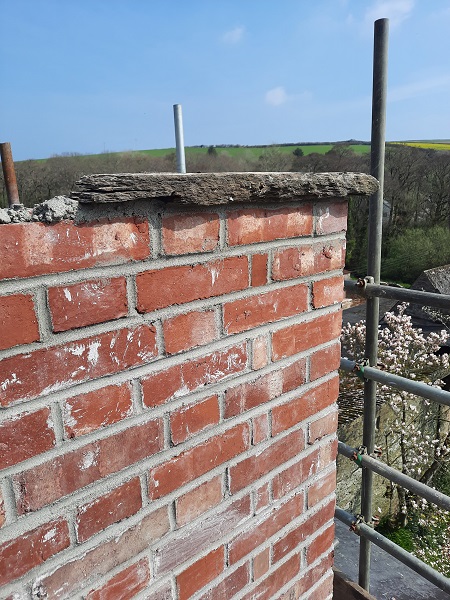
The stack had been rebuilt probably in the early 1900’s. The original stack would of been built entirely out of stone although part of the original stack remained which you could still see a couple of feet of that stonework coming up through the roof. The brick stack had been built on top of the stonework. That stonework had been pointed and part rendered in sand and cement and the bell cast covering the lead flashing were also failing. No wonder damp was getting in. It was agreed that we would take the brick stack down to the stonework, put in new a lead tray and re-build the stack. We would also hack off the render, take out the cement pointing to the stonework and re-point it in a lime mortar. We would also sort out the bell casts covering the lead roof flashings. We soon got started with taking the stack down. On top was a stone corbel that projected out from the brickwork by about 50mm, so this was removed first and set aside for re-use.

We then carried on with taking the bricks all the way down to the existing stonework.
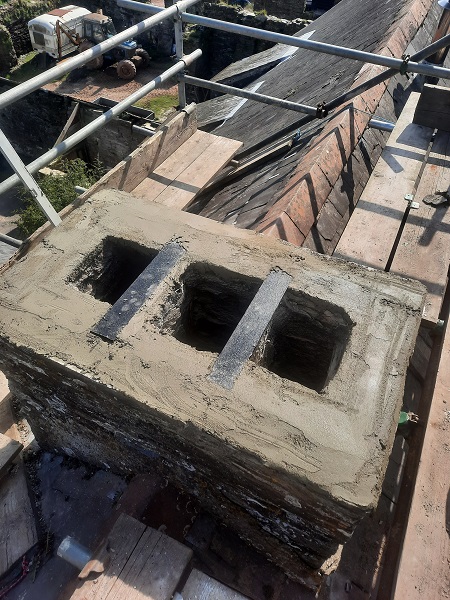
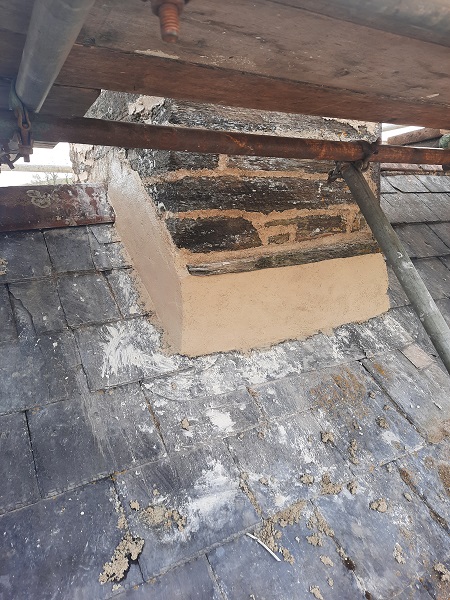
A screed was applied to the top of the stonework to ensure it was level all the way around.

The partitions that separated the flues were constructed with 50mm slate. This was too thin to build a brick on, so we cut some 100mm wide x 15mm thick steel plate to bridge over the partitions. These were given two coats of bitumen paint and set into position.

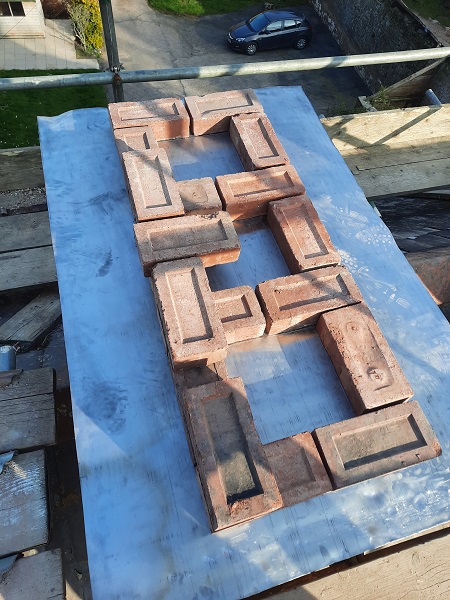
We were now ready to sort out the leadwork for the new tray. The lead was cut to length and placed on top of the stack. Bricks were set out dry to work out the flues openings.

This was then marked out onto the lead.

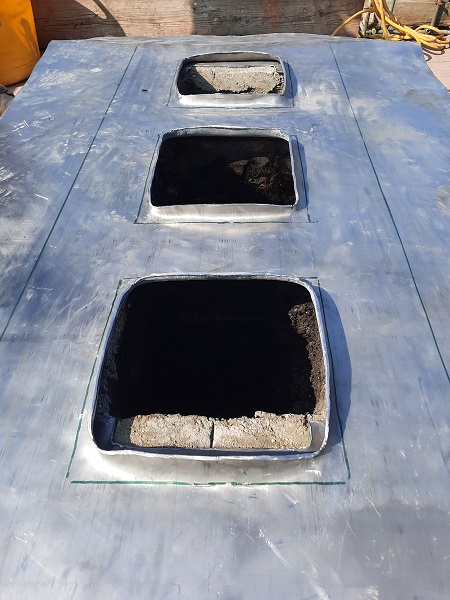
A small disc cutter was used to cut out the lead where the flues were going to go.

The lead was dressed up 25mm where each flue came through the tray.

This ensures that any water that penetrates the brickwork and on to the new tray, cannot go down the flue.

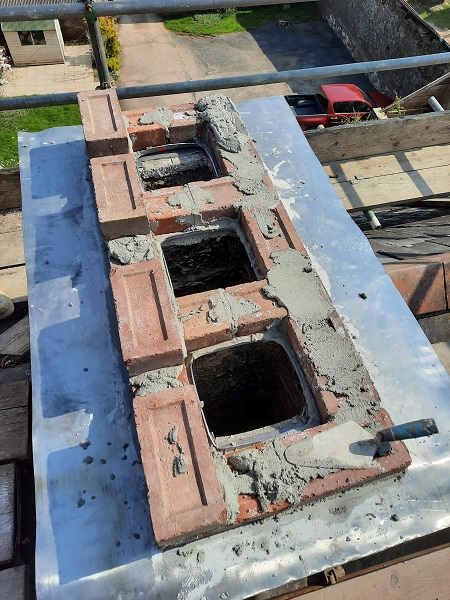
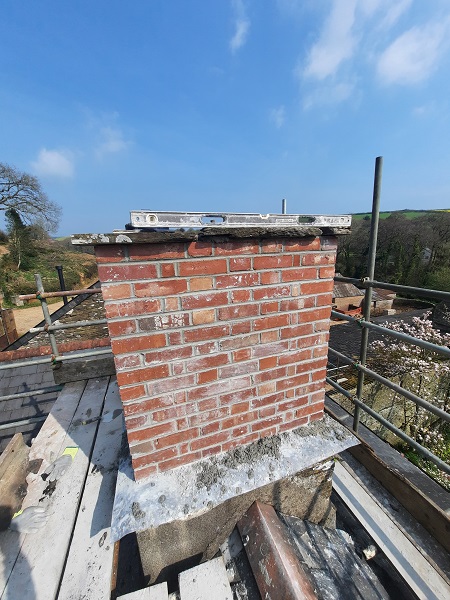
Now that the new tray was in, it was time to start the brickwork.
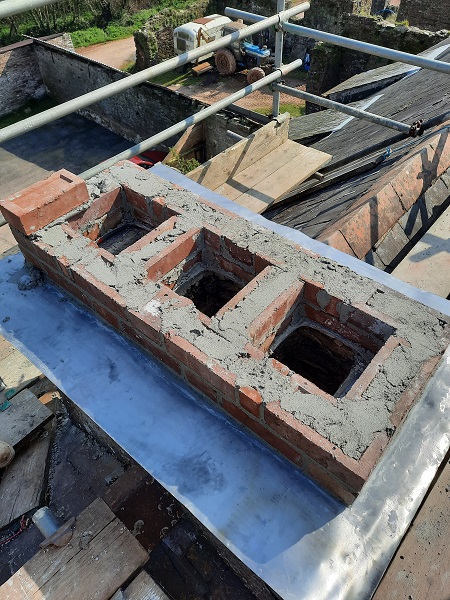

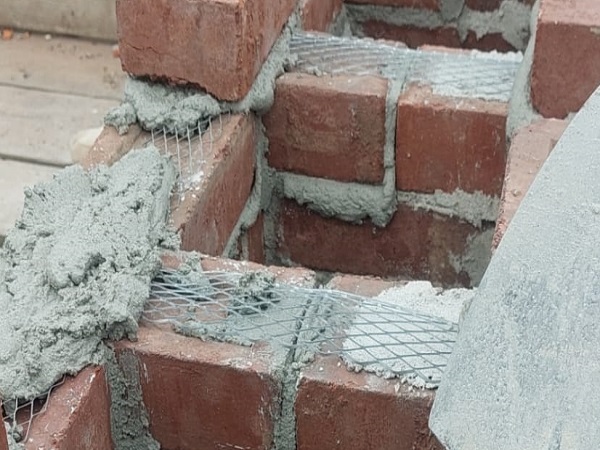
In every third course a stainless steel reinforced mesh was built in across the partitions and around the whole chimney stack to give lateral strength. This prevents vertical cracking.

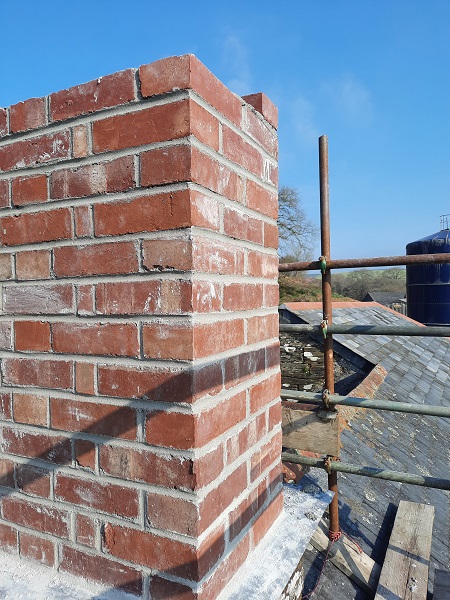
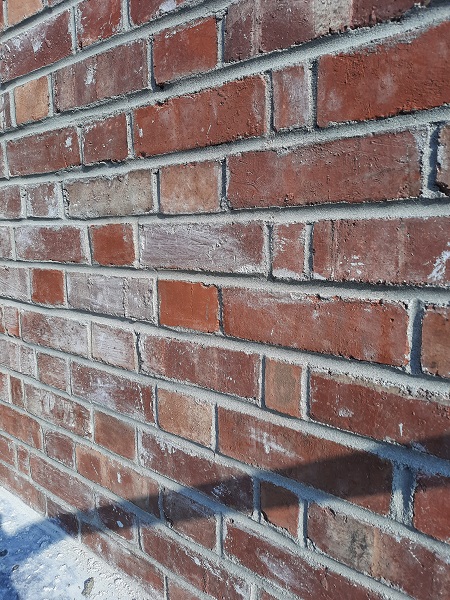
The bricks we used were new bricks but made to imperial size, and looked just like reclaimed bricks. We also used a traditional lime mortar to build it with.
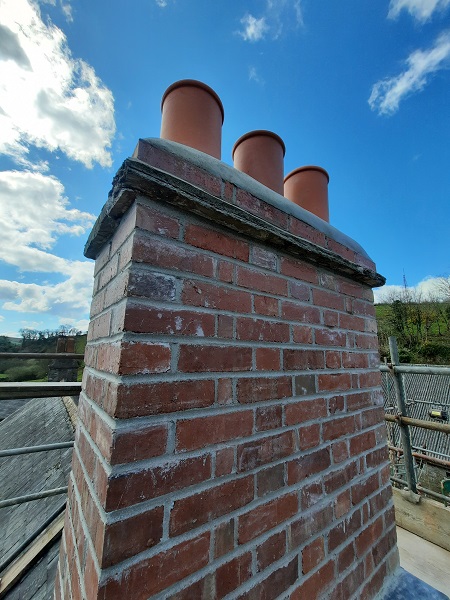
Before long we had the brickwork up to its original height and started to put back in the stone corbel we had set aside earlier.

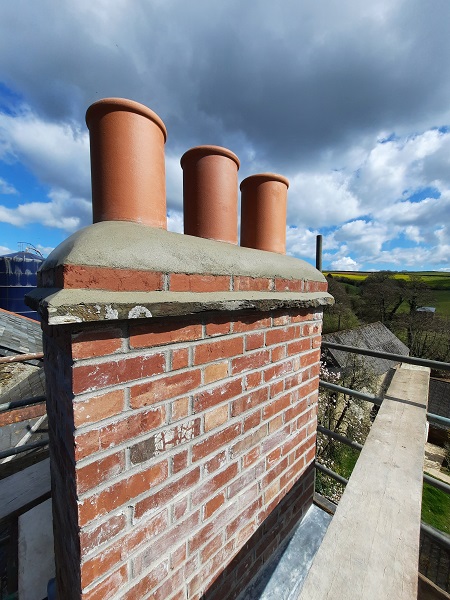
Three new 450mm high terracotta pots were placed in on top of the stone corbel over each flue.

Then we built a single course of brick all the way around.


This was infilled to set the pots in solid.

The flaunching, consisting of a final coat of waterproof sand and cement, was laid over this again and trowelled to a smooth finish.

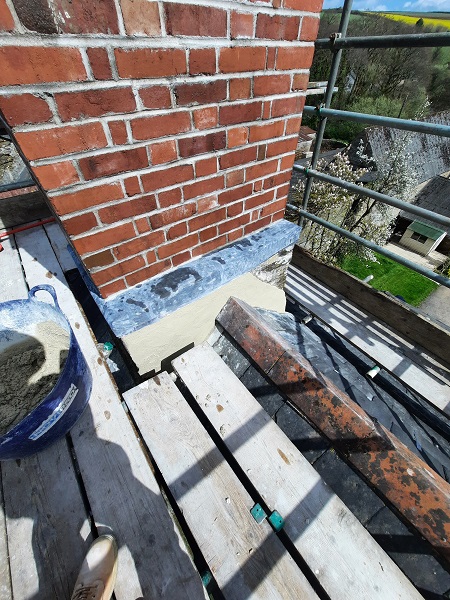
The new lead tray was dressed down over the stonework below it, giving a 100mm cover.

All the cement render and jointing was removed and put back using lime mortar.

One final thing we had to do was to place suitable cowls on top of the pots.
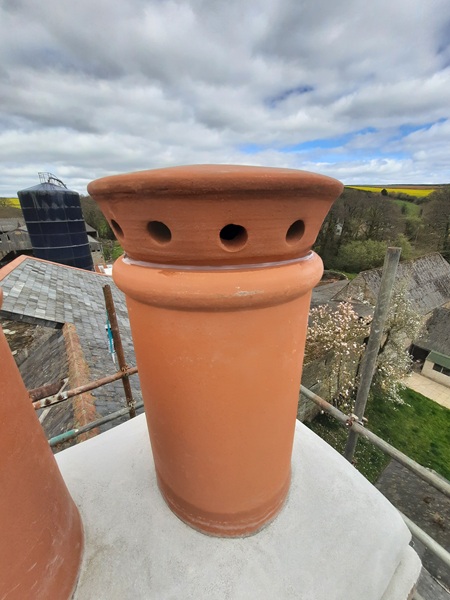
These consisted of terracotta vent cowls and were fixed to each of the two outer flues as the flues were no longer used. The cowls allow for air circulation whilst preventing rainwater from entering down the flues.

Before the scaffold came down the central flue was still in use so a new liner was dropped in to facilitate a wood burner and a UFO type cowl was fitted to that.

That was us done.
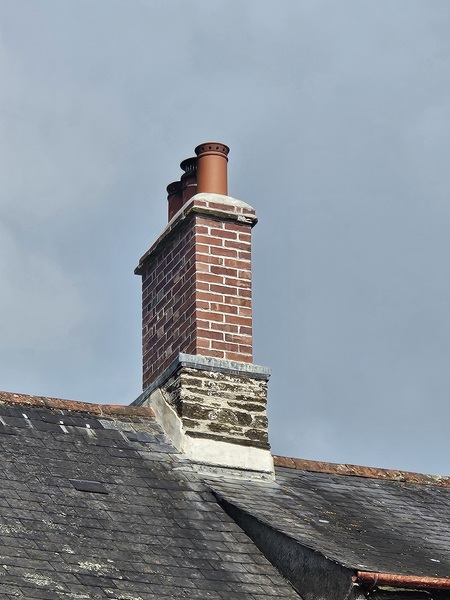

More importantly, the chimney was now structurally sound and no more damp problems.