

Newnham Park Estate, North Wall ~ Plympton, Plymouth.
Client : Private.

Originally, Newnham was called ‘Niweham’ and it is first recorded as a settlement in 1292. By 1325 it was known by its more modern pronunciation of ‘Niwenham’, meaning ‘new ham’ or ‘new pastures’. It is situated in the parish of Plympton St. Mary. Although the lands here may of been owned by the Priory at Plympton, they were not in control of the property, and the property was certainly independent of the Priory by the 15th century when it came into the hands of the Strode family. The wealthy Strode family were MP’s for Plympton and other duties included Sheriff of Devon. The property at ‘Old Newnham’ was the family seat up until the early 1700’s when the Strodes built their new residence at ‘Loughtor’ which they renamed ‘Newnham Park’ sometime during the 1740’s within the Medieval deer park, a short distance to the north. Today this house is known as Newnham House and consists of almost 1600 acres.
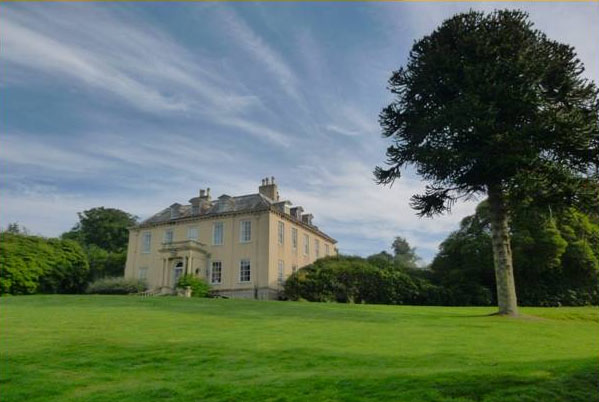
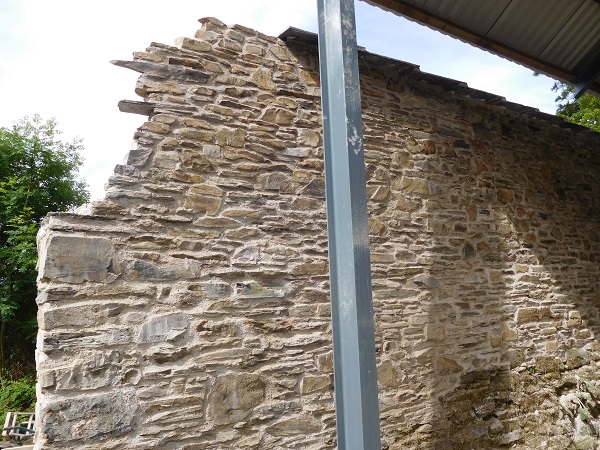
At the rear of the house lies a two acre walled garden which was built in the 1740’s at the same time the main house was built. These walls are constructed in a local slate and stand at just over 13 feet tall. We have worked on this estate before carrying out the re-building of large sections of the enclosed garden walls which had collapsed, and just like the main house, these walls are Grade II listed. This time a substantial section on the North side of the garden wall suffered a collapse and we were called back in again to put things right.
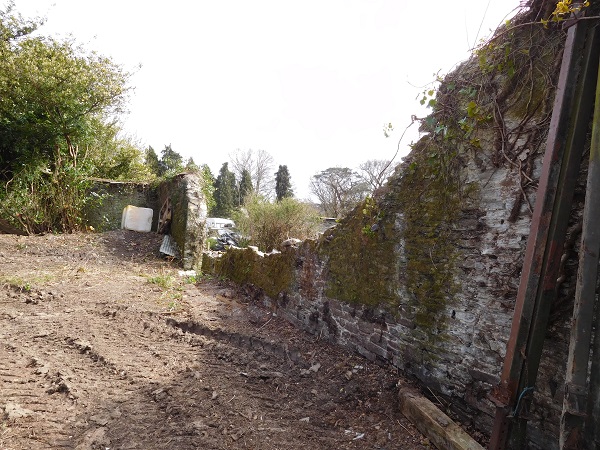
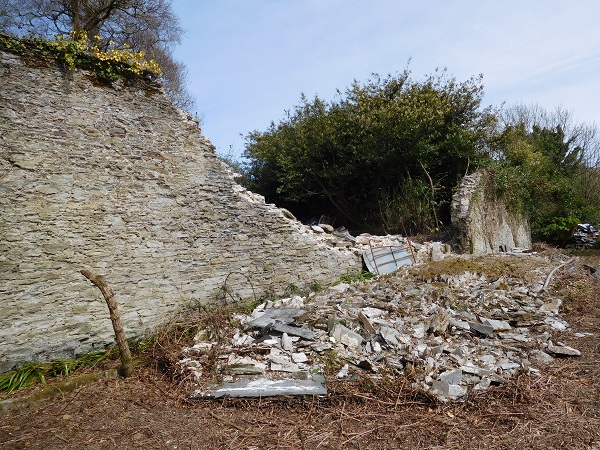
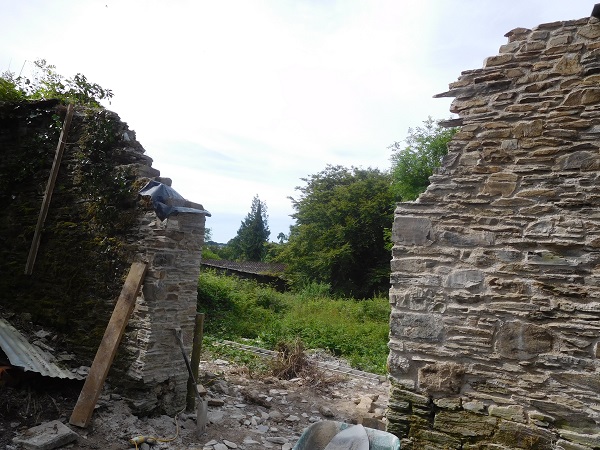
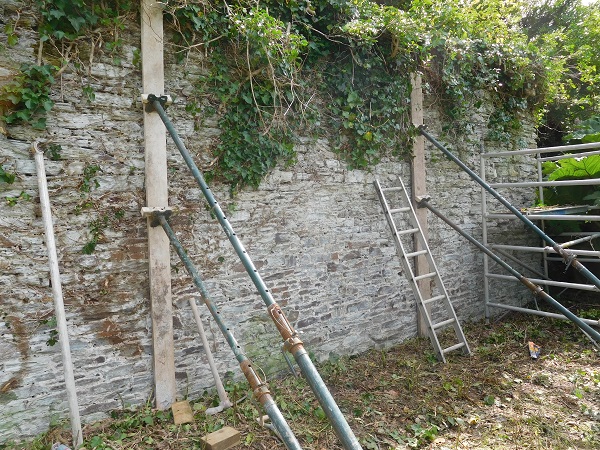
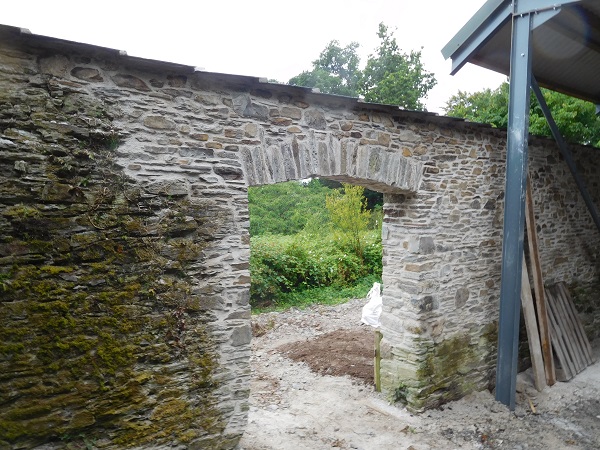
And this is what we were confronted with. The collapse had caused the remaining sections of wall at either end that were still standing to lean to such an extent that they too were in danger of falling over at any point. We had two options, we could either take those leaning sections down to what we felt would be safe and build it all back up again, or we could build new buttresses in stone against the leaning sections to stabilize it. If we took the leaning sections down, it would of meant taking down just as much walling as that which had already collapsed, so it was decided to build buttresses and preserve as much of the original wall as possible.
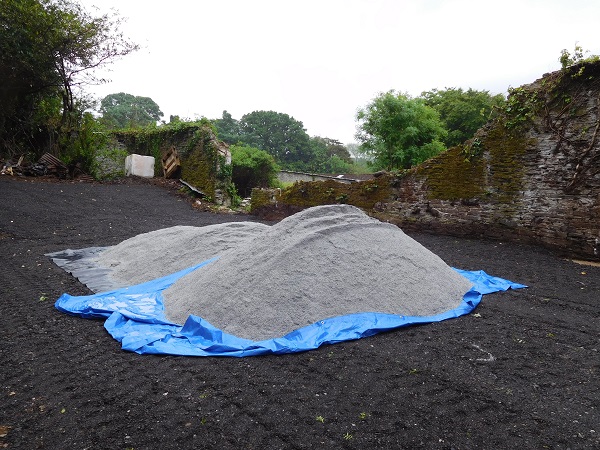
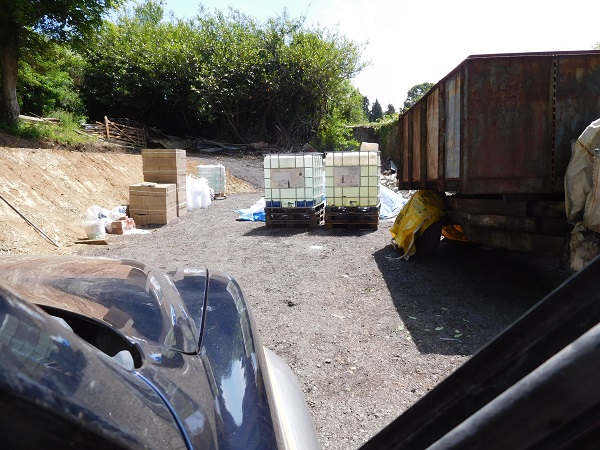
The first thing was to prepare the ground on the outside of the garden wall as most of it was uneven and difficult to get materials close by to where we were working. This was levelled out and sub base laid down to give vehicular access. Then the materials were ordered and delivered to site.
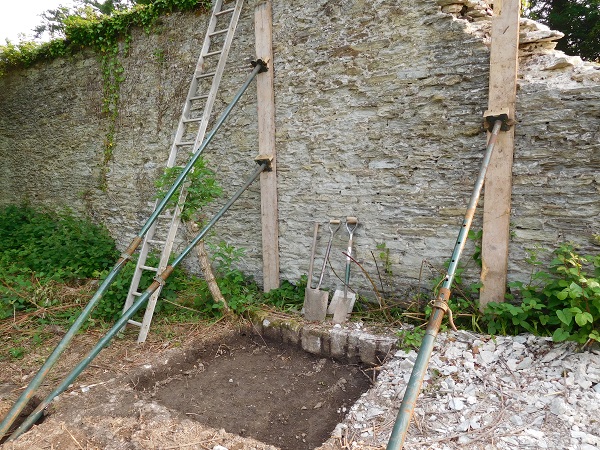
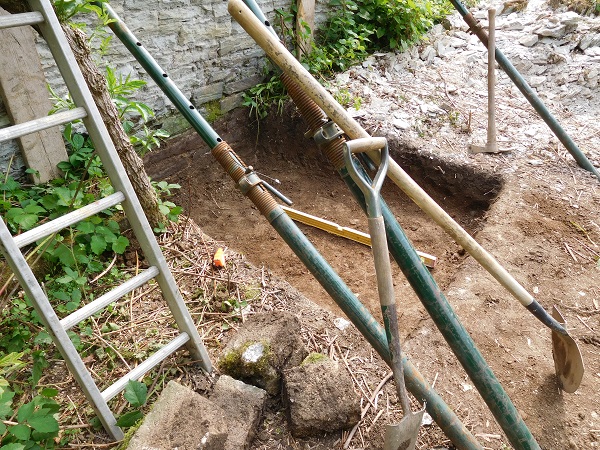
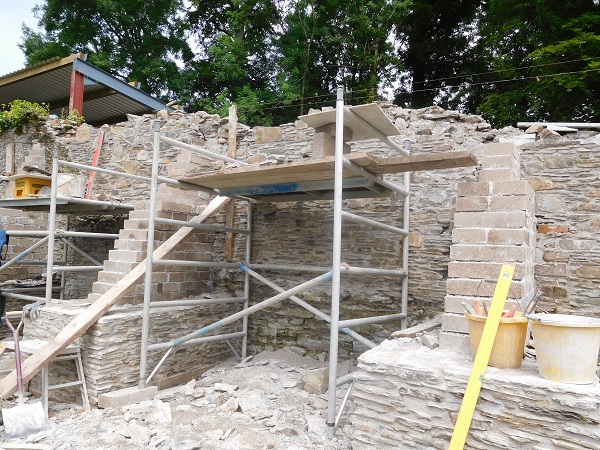
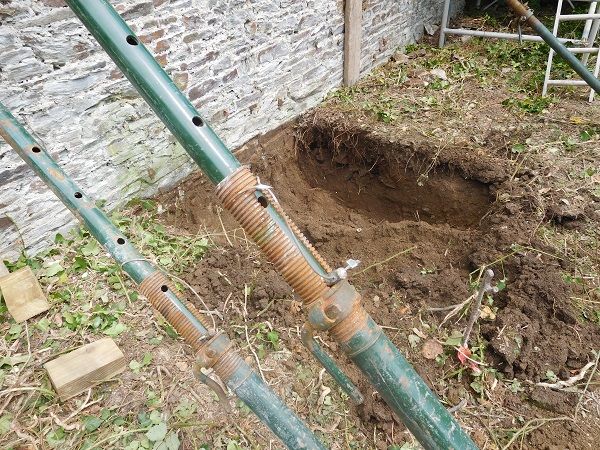
Now set up on site our next task was to stabilize and make safe the leaning sections of wall, we were going to be working next to them and didn’t want it to fall on us. We did this by raking several Acrow props up against it. Then we excavated the footing for the first buttress we were going to build.
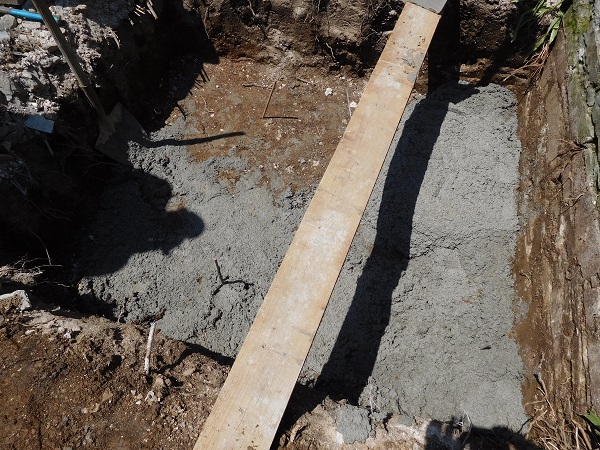
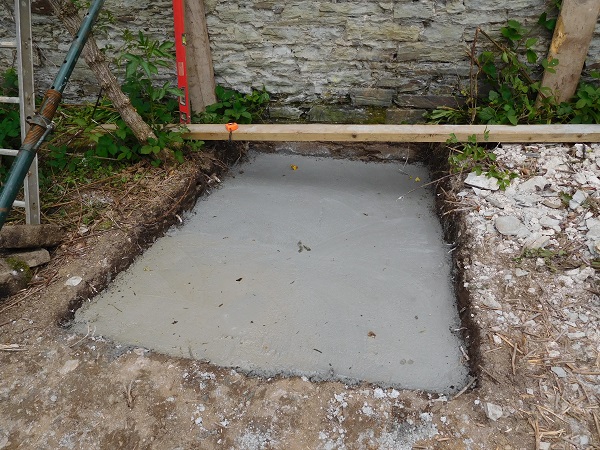
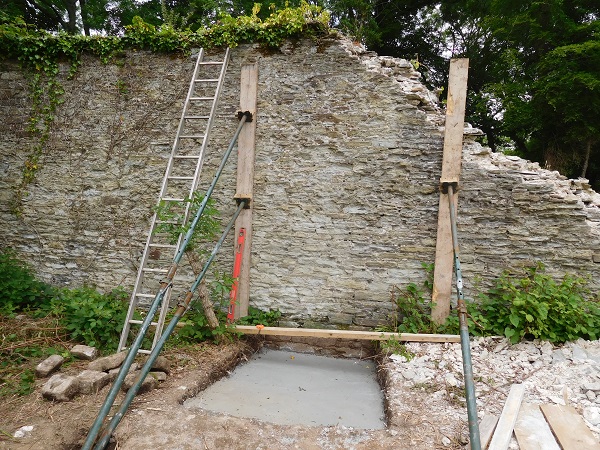
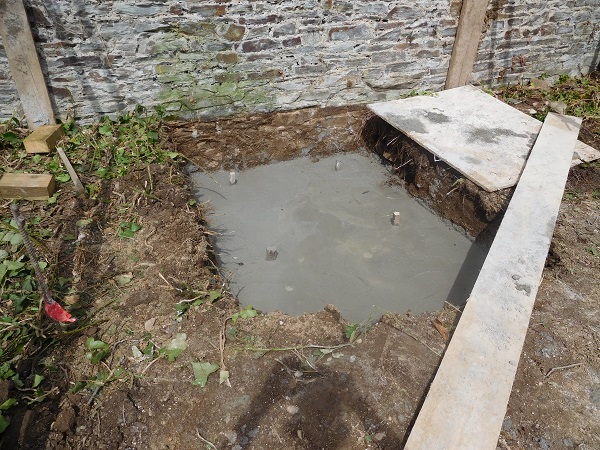
These were dug out to take a solid base of concrete one foot thick (300mm), five foot wide (1500mm) and six foot long (1800mm). Once prepared the concrete was laid.

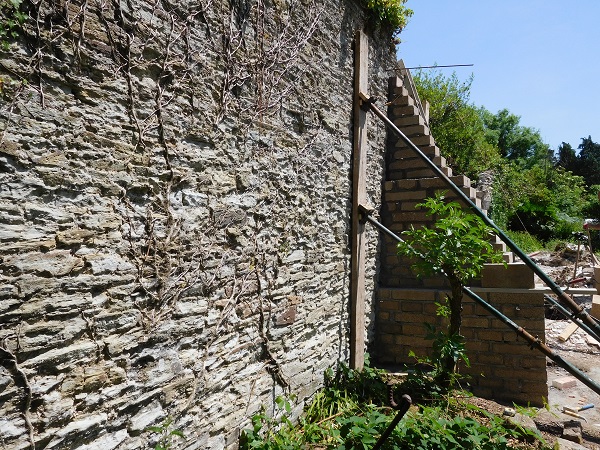
The core of the buttresses were going to be built in concrete block and then faced off in natural stone. Now that the concrete had set, we were able to get the blockwork up, building in ties as we went to take the new stonework.
When the blockwork for the first buttress was up, the foundation for the next was dug out and concreted.
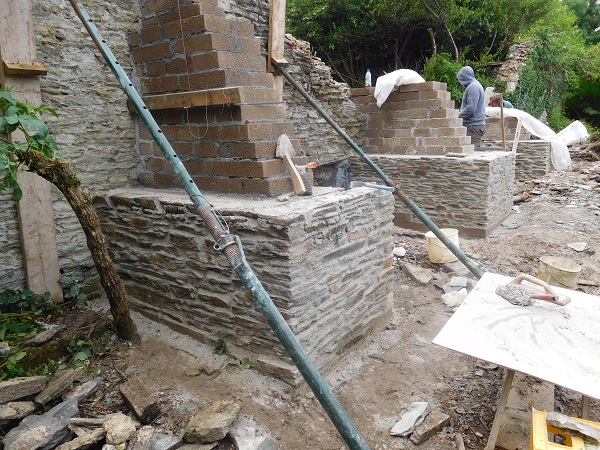
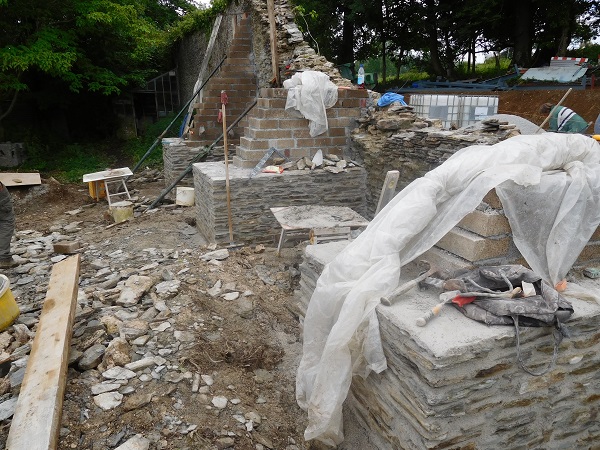
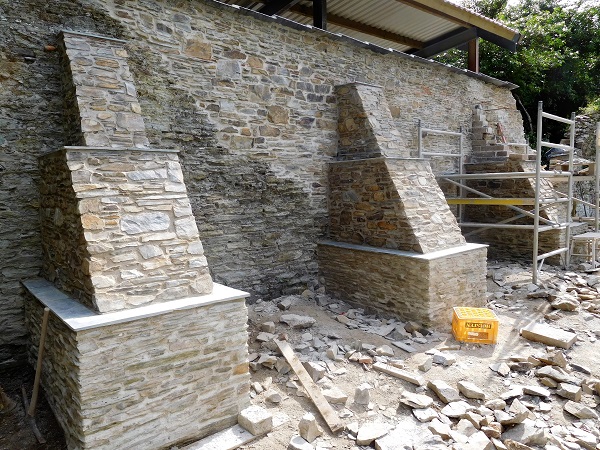
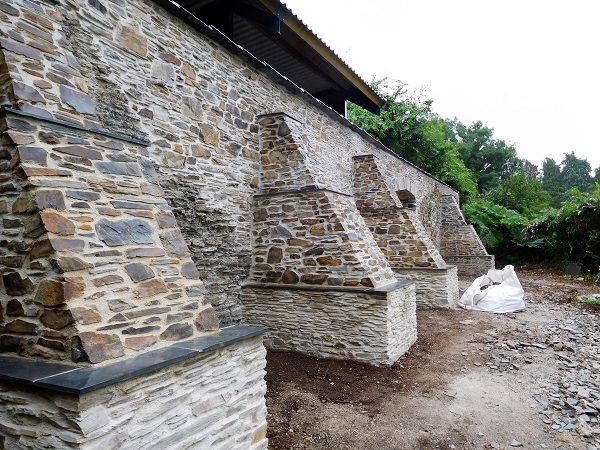
There had been an opening in this wall, and that had to go back in. We were going to put up three buttresses on this side of the opening and one on the other side. It wasn’t long before we had the three of these set out along with the stonework around the base of each buttress.
A natural lime mortar was used throughout the construction.
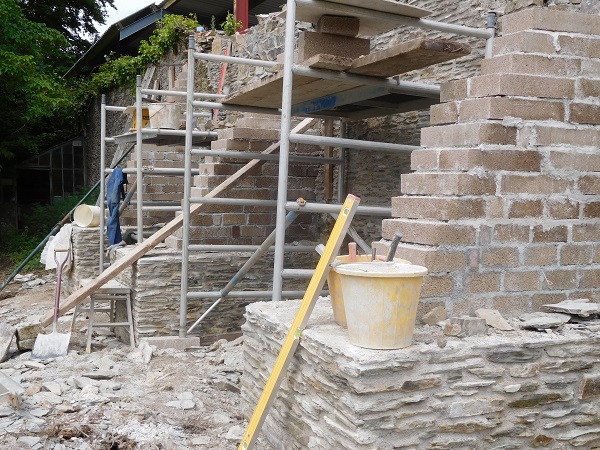
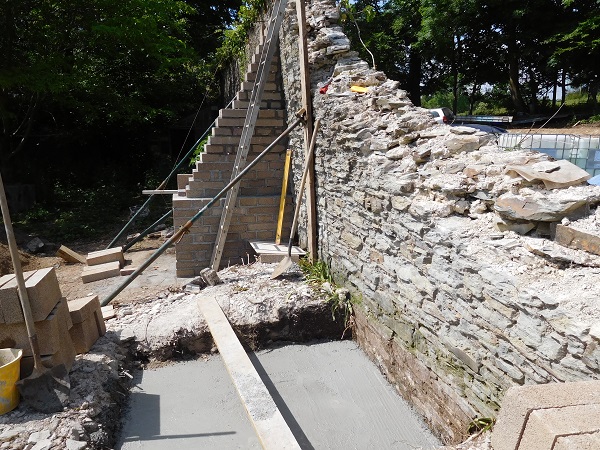
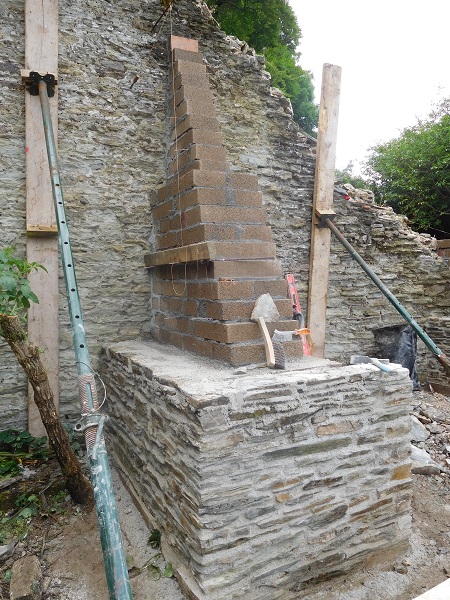
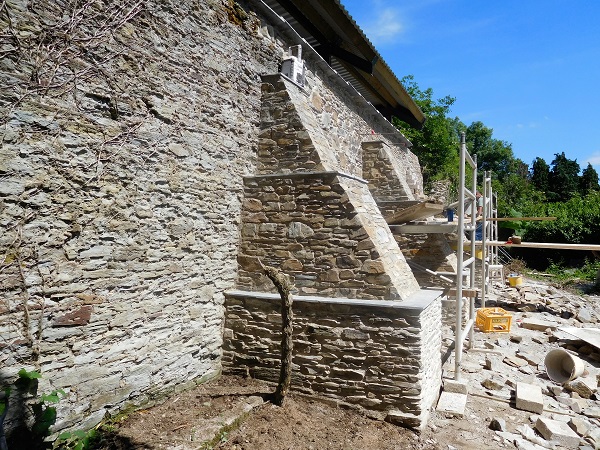
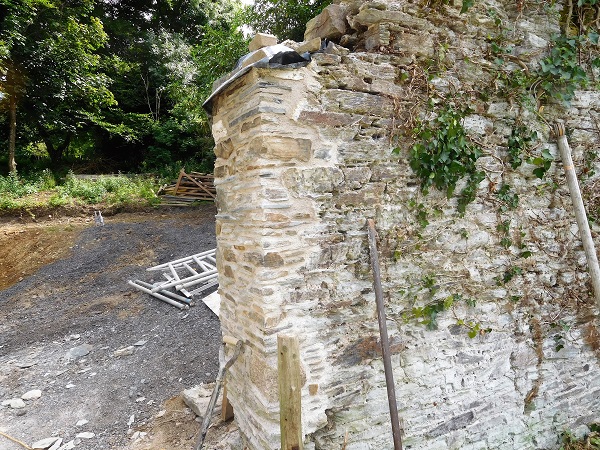
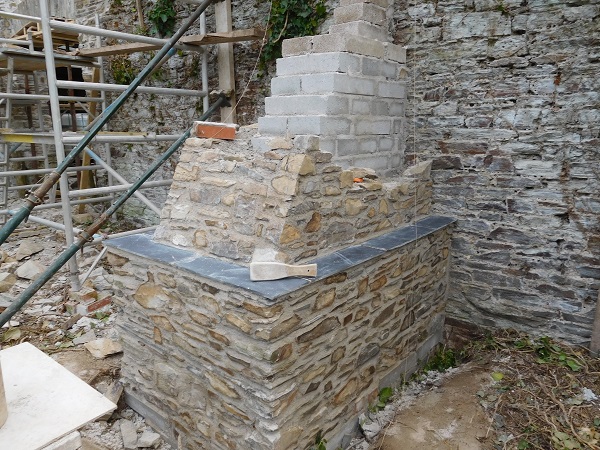
As the buttresses got higher, we also brought up the wall as we went.
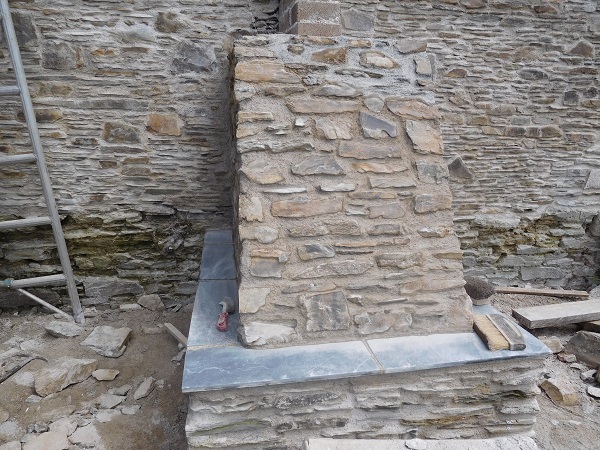

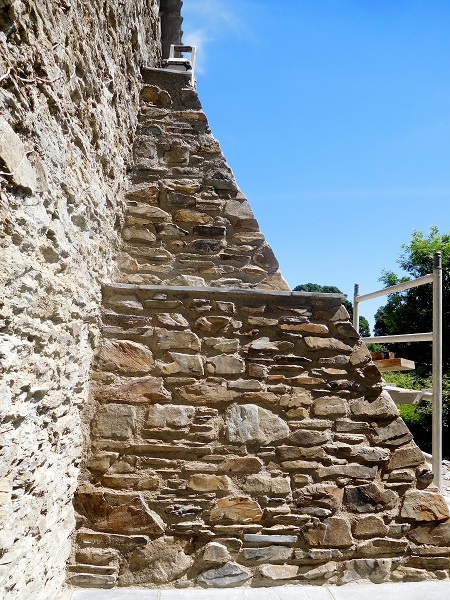
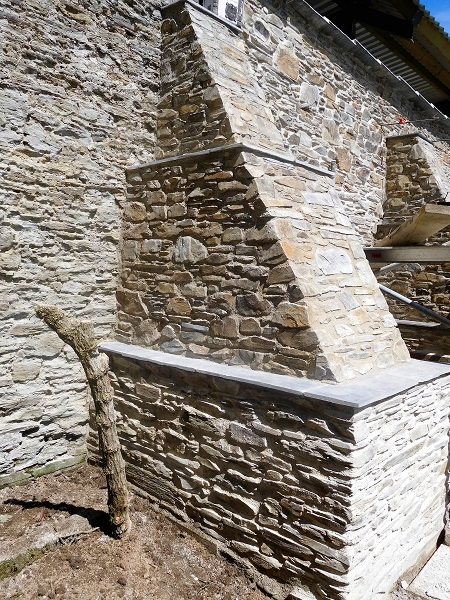
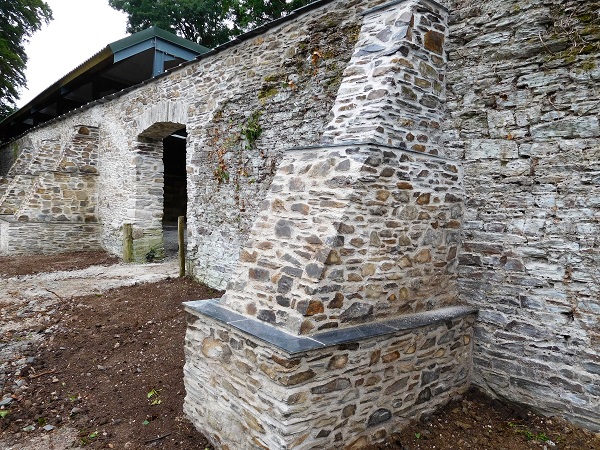
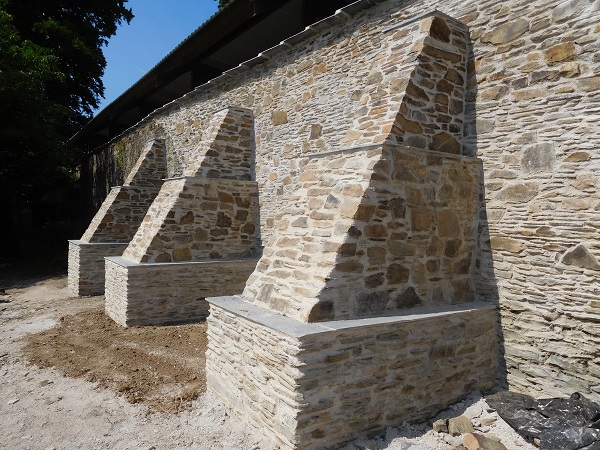
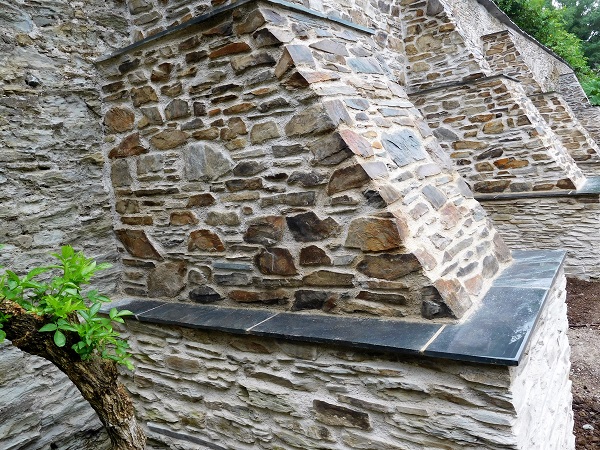
The buttresses reduced in thickness as they went higher as less stress is placed on the upper sections of the leaning wall. As we stepped in the stonework, we also built in slate sills.

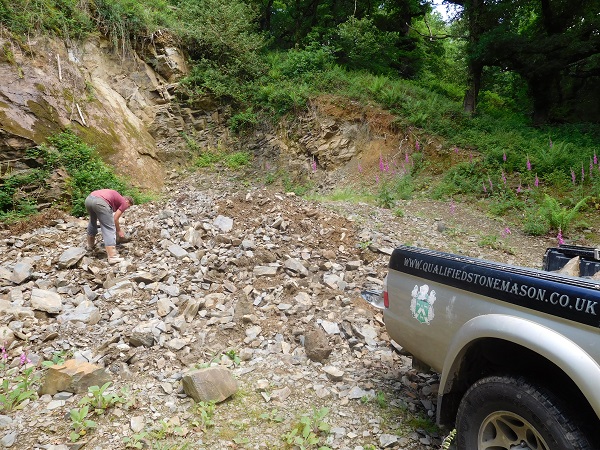
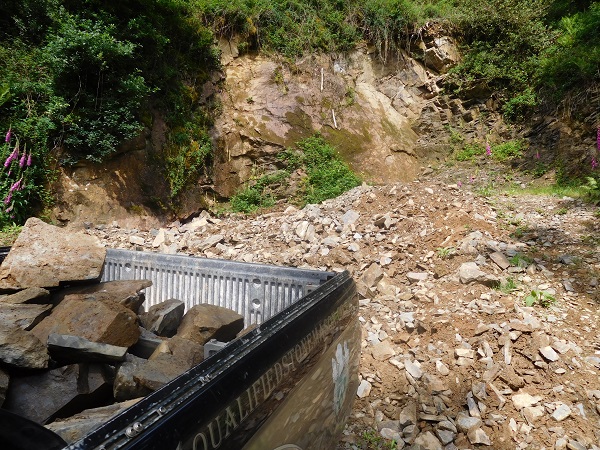
We had to have new stone to build the buttresses, but this wasn’t a problem. The Estate has its own quarry, and we could go down there anytime and bring back what was required.
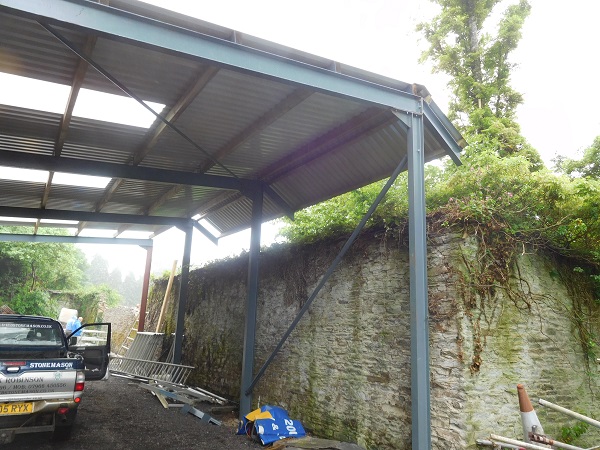

Prior to the wall collapsing, there had been an agricultural building here where bales of hay were stored for the Estate. The roof of this building was actually built in to the top of the wall, and when the wall collapsed so did the building. A new one was put back up in its place, only this time however, the new building was completely independent of the garden wall and the roof now cantilevered out over the wall. This was so that no undue stress was put onto the wall.

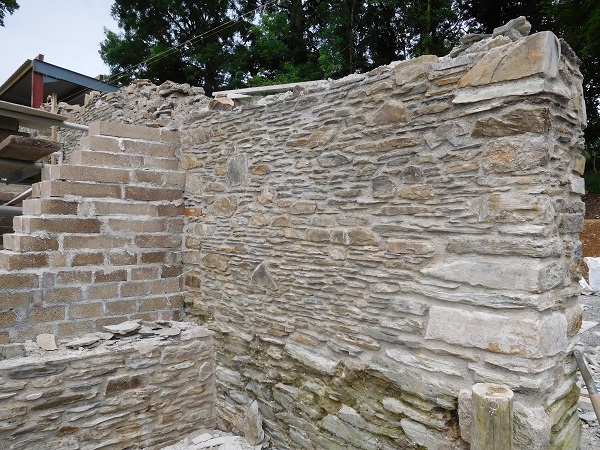
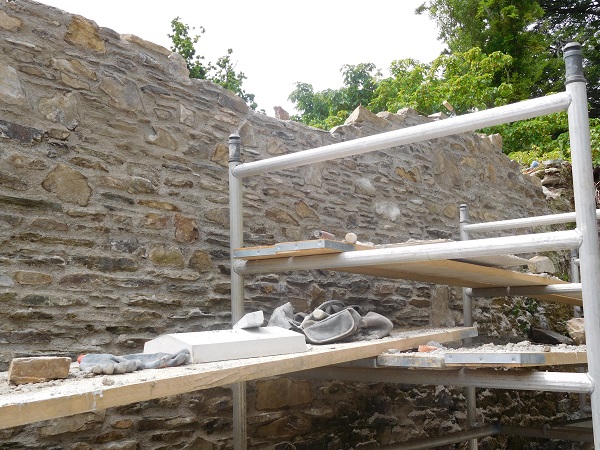
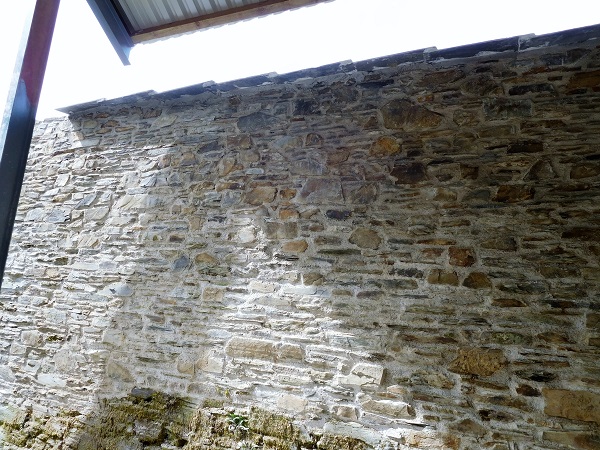
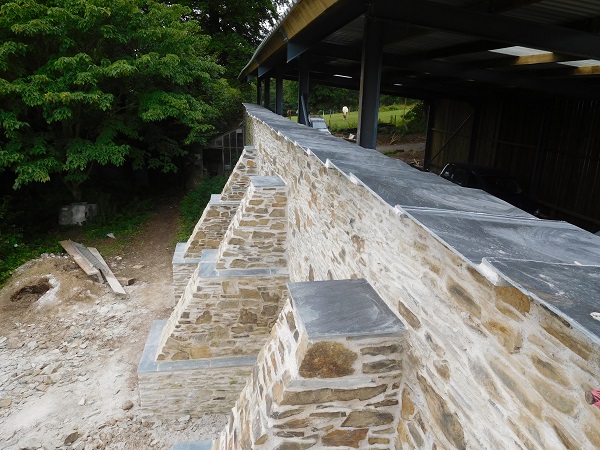
The top of the remaining section of wall was heavily infested with roots and vegetation. It was decided the whole length of wall would have a new slate coping laid.
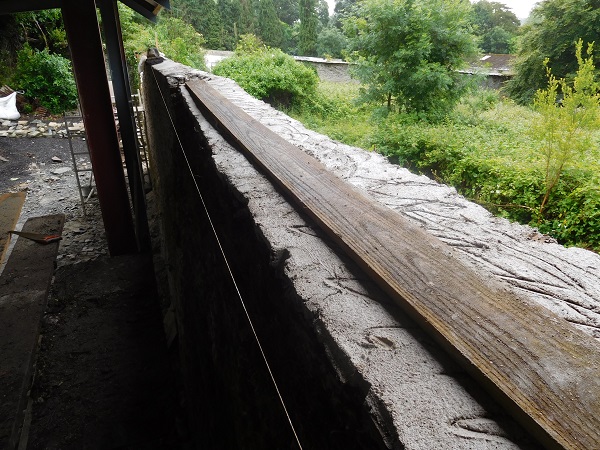
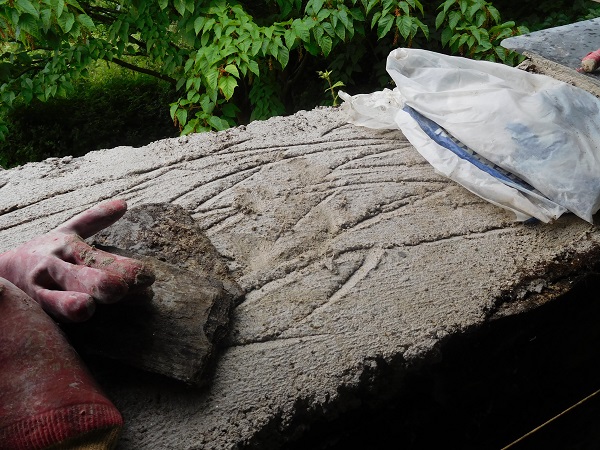
All the vegetation was removed, treated with herbicide and the top of the wall made sound in preparation to take the new slate coping.
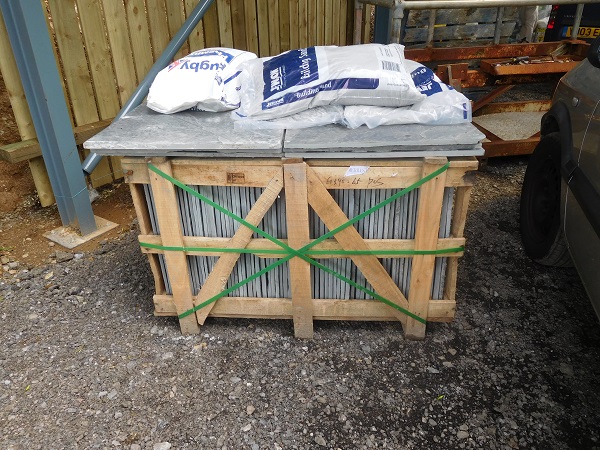
The slate was delivered to site and before that was laid it all had to be cut to size before we could lay it. It was cut down to give a four inch overhang to both sides of the wall.
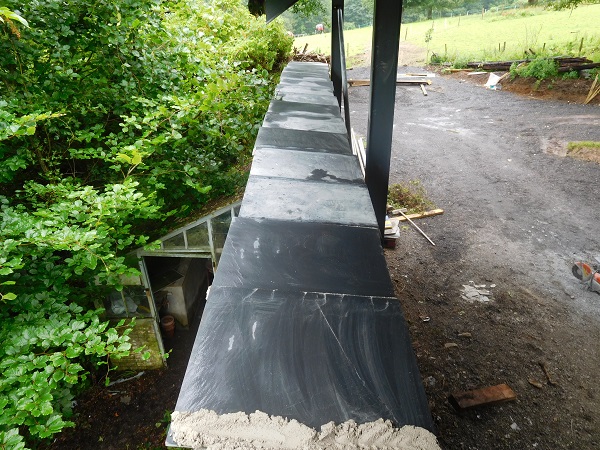

The slate was not butt jointed, but overlapped each other by about three inches. This is a much better way to lay this type of coping as there is less chance for moisture to penetrate down through the joints into the wall, and also harder for vegetation to take hold and force the coping away from the bed joint. We also randomly staggered the slate by a couple of inches so as not to create a straight line, and this is more pleasing to the eye, especially if the wall is not straight in the first place.
Now that most of the coping was in place, the last section of the third buttress began to take shape.
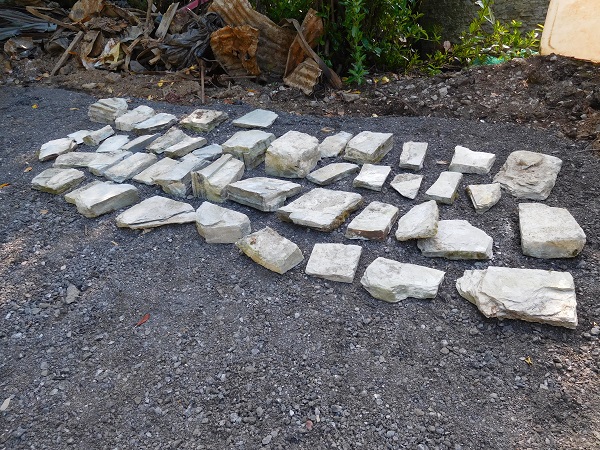
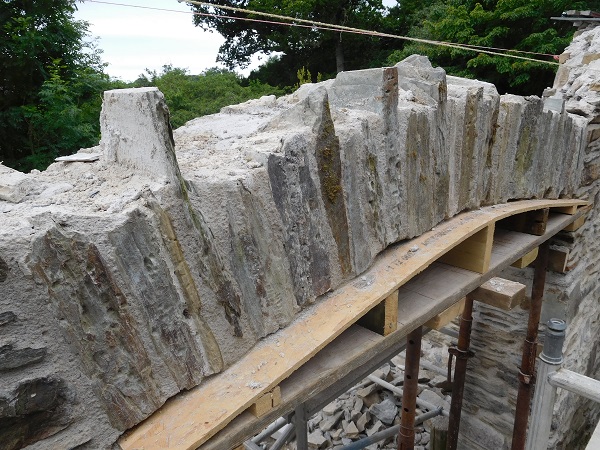
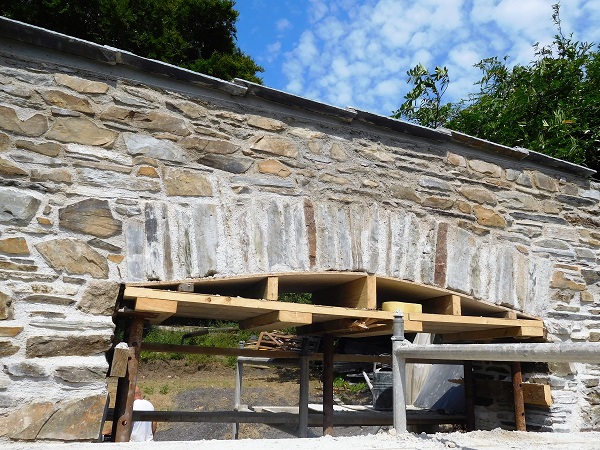
We now had to concentrate on the opening. This originally had an arch over the top of it, and we were lucky enough at the start of the job to be able to salvage the original arch stones, and these had already been set aside for re-use.
The reveals of the original opening were built up to height.
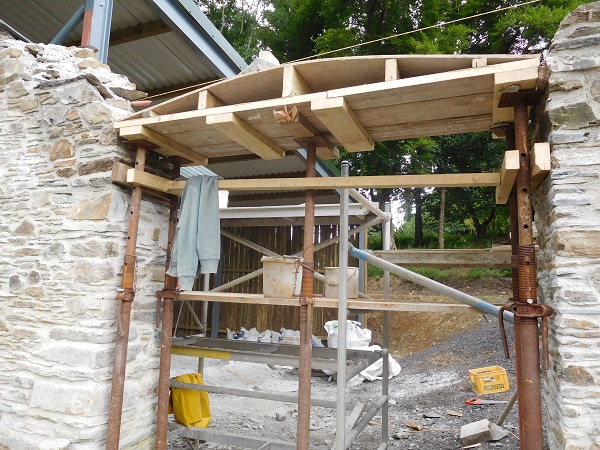
And then a temporary wooden centring piece was made and positioned in order to form the new arch.
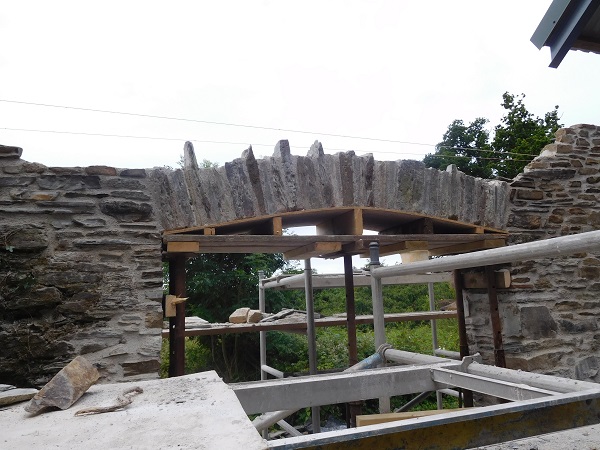
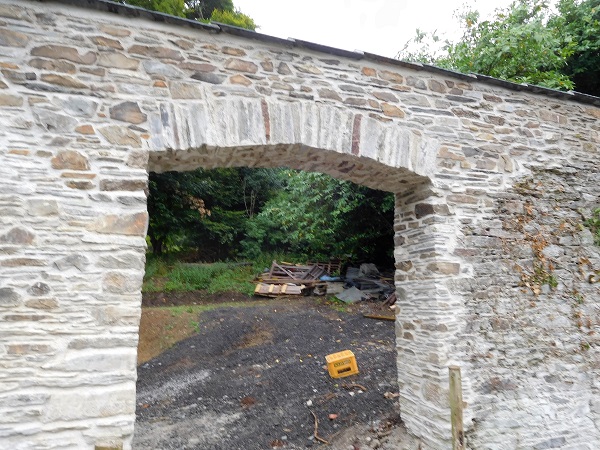
Once positioned the arch could then be built. An arch has no strength until the final ‘Keystone’ has been placed. The centring keeps all the arch stones in place until the mortar sets, and after about a week, the wooden centring is removed. This is called ‘striking the centring’.
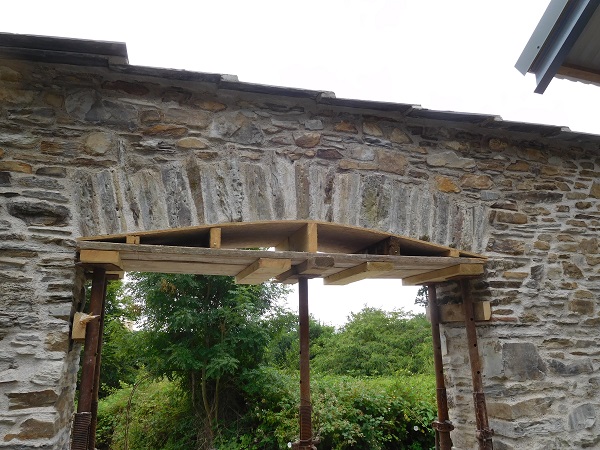
The stonework above the arch is then built up to height and the slate copings placed on top.
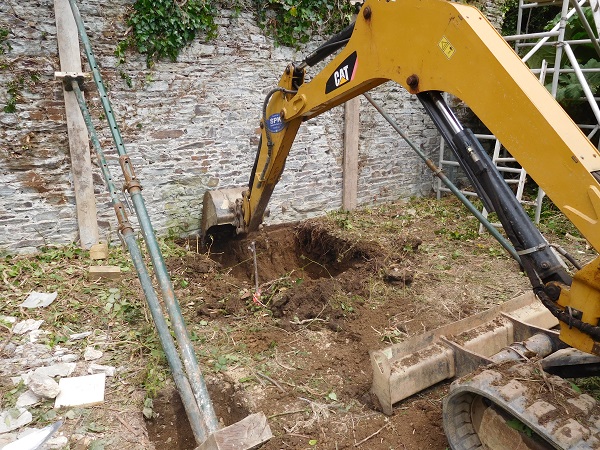
The fourth and final buttress on the opposite side of the opening had still to be built. The wall on this side of the opening was dangerously leaning too. A small mini digger dug out the ground for the foundations.
And when that was prepared the concrete was laid in for the footings.
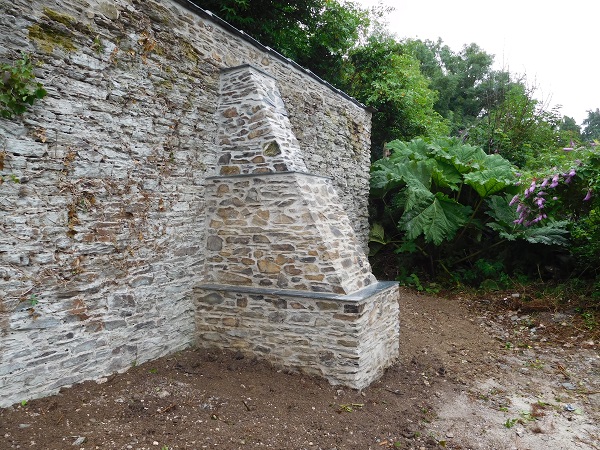
It wasn’t long before this buttress was up to match the other three. The wall on top was made good and again the final section of the coping was finished in slate.
The centring was stuck after the arch had set and the underside pointed in.

You’ll find walled gardens such as these on many large estates up and down the country and they were built at great expense by their owners. The protective walls and glasshouses within were the only means of maintaining a constant supply of fresh vegetables and exotic fruits for the estate and in its heyday would of employed a small army of gardeners to keep on top of it all.
We were more or less done. The only thing left for us now was to tidy up the site.
Leaning walls can be worrying to say the least, if not dangerous, and they need to be understood. The centre of mass of a solid wall is its physical centre and considered stable if the upright centre line of the wall lies within the thickness of its base to the top of the wall. If it lies outside this, it’s considered to be dangerous. For example, if a solid wall is eighteen inches thick, then that wall would need to lean eighteen inches out of upright over its full height before it would topple, assuming all the stonework is built solidly throughout the thickness of the wall. All free standing walls built of stone are constructed of two skins built back to back. That doesn’t always mean the wall is built solid all the way up through its entire thickness. The two skins could, and often do as with older walls, de-laminate from each other, which will be even more detrimental to the stability of the wall and must be taken into consideration. Also, the fact that this wall’s coping was either missing or insufficient didn’t help the situation. The physical centre lines on the wall we were repairing were only just inside its base thickness, but there was clear evidence that the wall had not been built solid throughout its thickness and the two skins were coming away from each other. That’s why the conscious decision to put these buttresses in place had been made. Another very important factor is to ensure the top of the wall has a suitable capping or coping to make sure water cannot penetrate down through the centre of the wall, which over time can, and will, cause all sorts of problems relating to the structural integrity of the wall itself.